uniapp实现水印相机
uniapp实现水印相机-livePusher
水印相机
背景
前两天拿到了一个需求,要求在内部的oaApp中增加一个卫生检查模块,这个模块中的核心诉求就是要求拍照的照片添加水印。对于这个需求,我首先想到的是直接去插件市场,下一个水印相机插件导入使用。可惜,这个oaApp的架子搭建实在是毛坯,很多时候一些简单方法,并不能直接使用。没办法,只能去找一些不那么常规的方法。在网上,找到一些方法使用livePusher和canvas来实现水印相机的效果。
核心livePusher与canvas
livePusher
官方介绍
实时音视频录制,也称直播推流。
这里使用livePusher来实现,调起系统相机,实现摄像头实时画面预览。
页面布局(页面需要是 .nvue的文件)
在onReady时创建 live-pusher 上下文 livePusherContext 对象,并初始化相机开启预览。
this.livePusher = uni.createLivePusherContext('livePusher', this);
this.startPreview(); //开启预览并设置摄像头
//开始预览
startPreview() {
	this.livePusher.startPreview({
	success: a => {
		console.log(a)
		}
	});
},
一些踩坑的想法
这里没使用livePusher之前,我的想法是采用webView加plus-camera的方法去构建一个能够自定义的拍摄页面。为什么会有这个错误的想法,是因为我曾用过webView加plus-barcode构建了自定义的扫码页面。实践发现这个想法是错误的,因为无论是uniapp还是plus-camera使用到相机时都是调起系统的相机功能,且在app端使用内嵌相机页面的api也不支持。
拍照的操作方法
//抓拍
			snapshot() {
				//震动
				uni.vibrateShort({
					success: function() {
						console.log('success');
					}
				});
				this.livePusher.snapshot({
					success: e => {
						_this.snapshotsrc = e.message.tempImagePath
						let data = {
							url:_this.snapshotsrc,
							deptName: _this.deptName,
							time: _this.time
						}
						uni.$emit('waterMark', data);
						// 发送数据后返回上一页
						uni.navigateBack();
					}
				});
			},
			//反转
			flip() {
				this.livePusher.switchCamera();
			},
水印添加
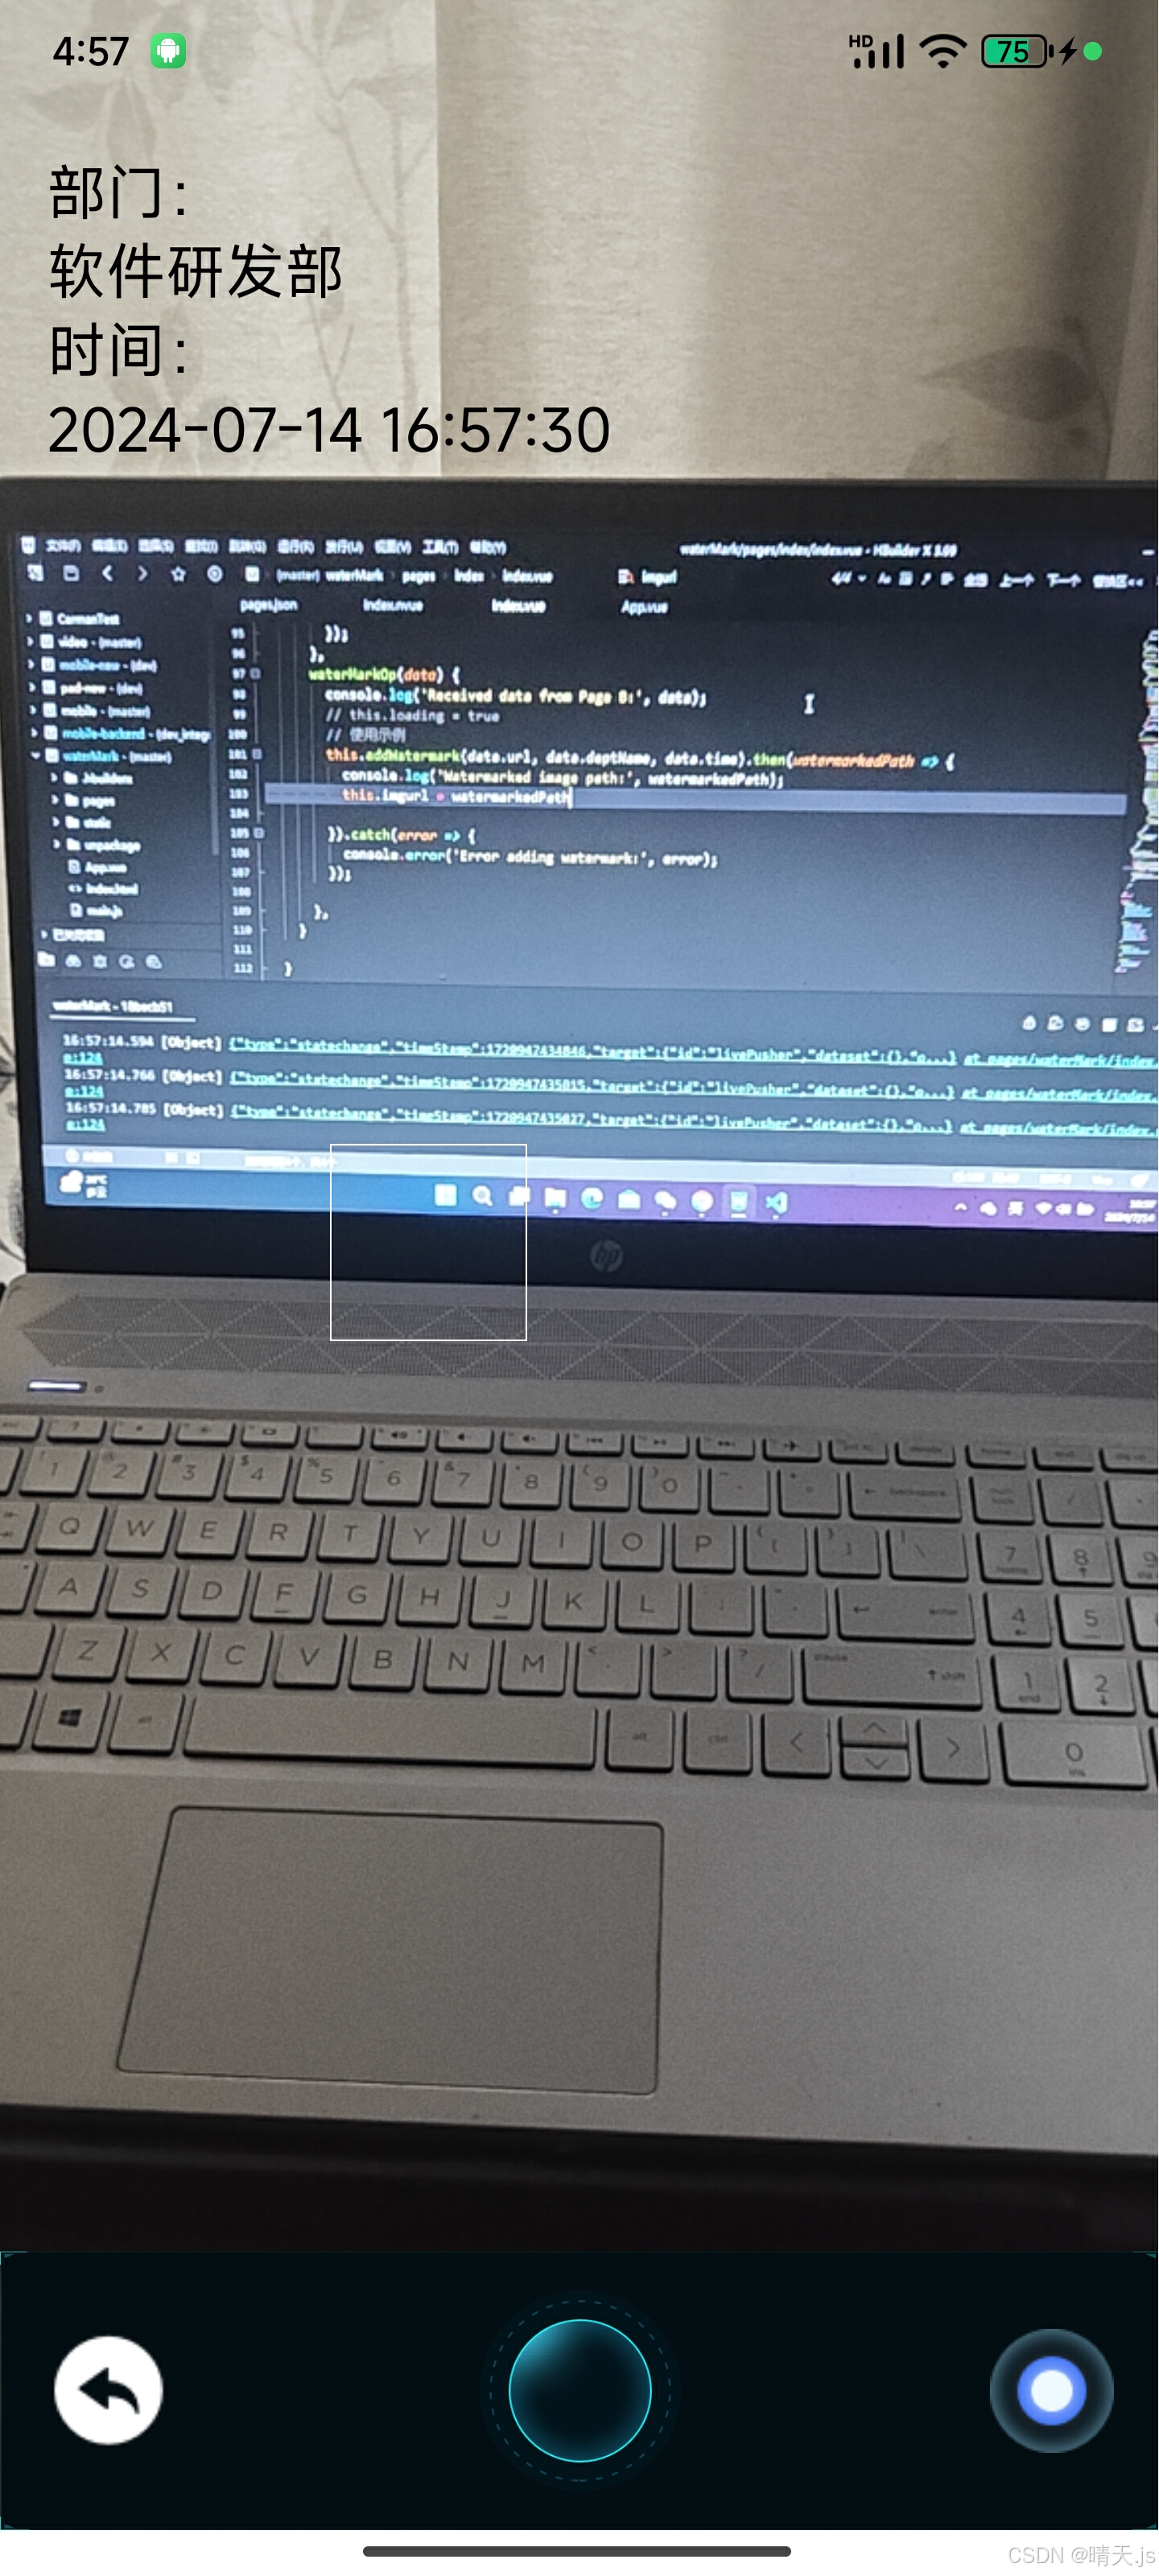
用一个相对定位,将你的水印添加到你需要的位置,就可以试下水印和画面的实时预览啦。
canvas
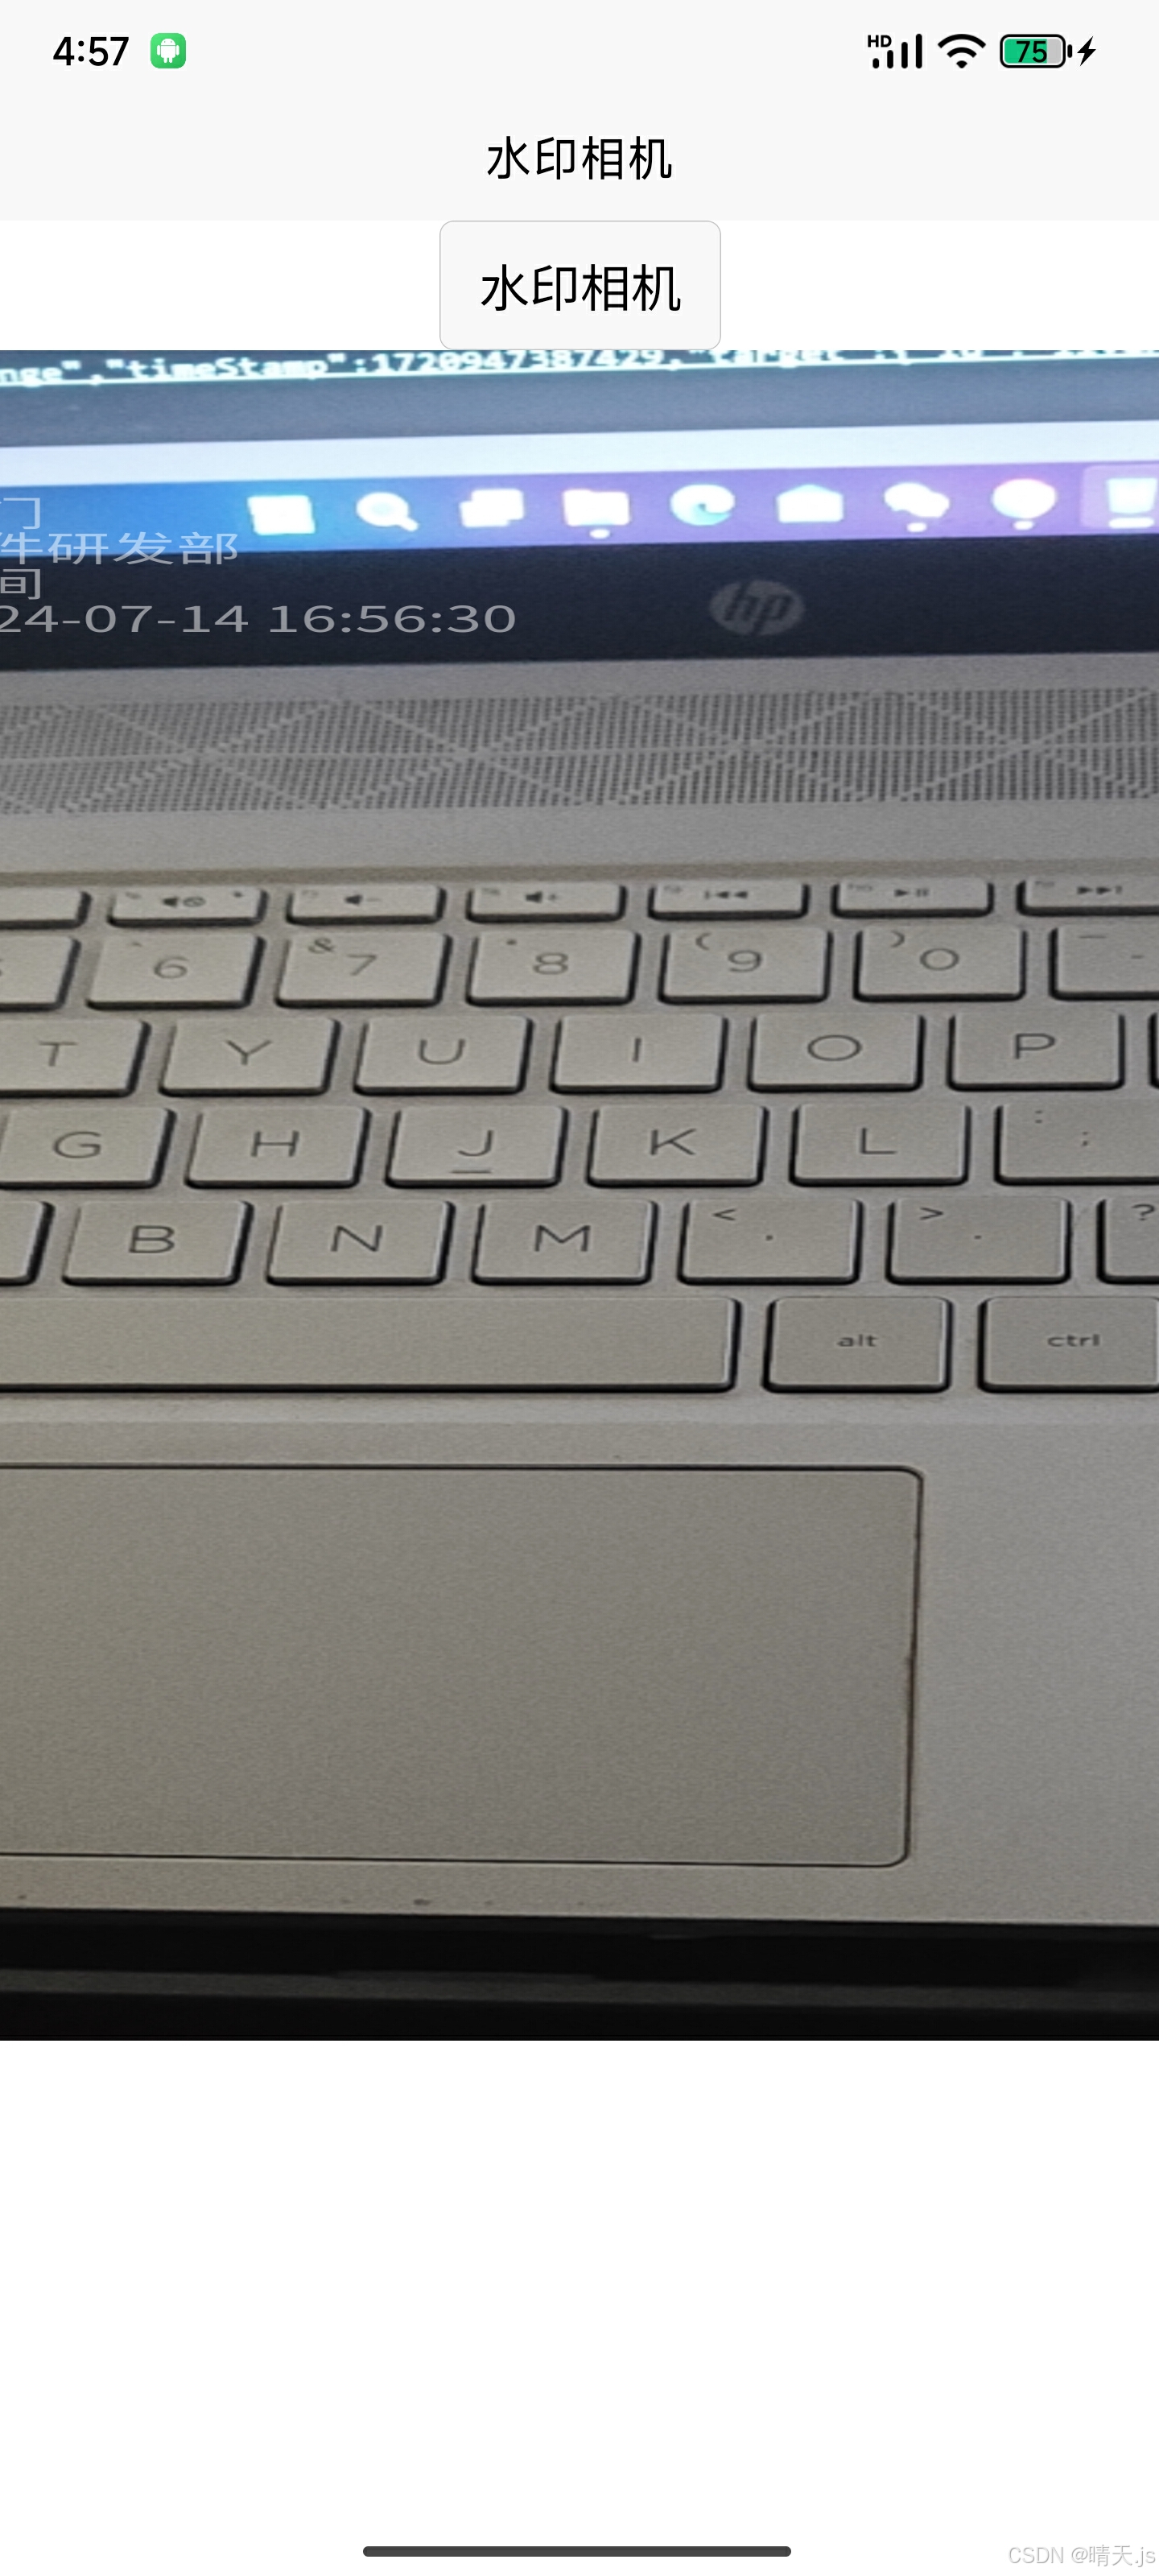
前面拍照得到的照片,实际上水印并没有添加到画面中,这个时候我们需要使用canvas重新绘制,将图片和水印绘制在一起。
// 添加水印的函数
			addWatermark(imagePath, markDept, markTime) {
				return new Promise((resolve, reject) => {
					uni.getImageInfo({
						src: imagePath,
						success: (info) => {
							console.log("info.width, info.height", info.width, info.height);
							const ctx = uni.createCanvasContext('watermarkCanvas');
							ctx.drawImage(info.path, 0, 0, info.width, info.height);
							ctx.width = info.width;
							ctx.height = info.height;
							// 设置水印样式
							ctx.setFontSize(50); // 设置字体大小
							ctx.setFillStyle('white'); // 设置水印颜色
							ctx.setGlobalAlpha(0.5); // 设置水印透明度
							// 添加水印文字
							// ctx.fillText(markDept, info.width - 15, info.height - 55);
							// ctx.fillText(markTime, info.width - 15, info.height - 15);
							ctx.fillText('部门', 30, 250); // 设置水印位置
							ctx.fillText(markDept, 30, 300); // 设置水印位置
							ctx.fillText('时间', 30, 350); // 设置水印位置
							ctx.fillText(markTime, 30, 400); // 设置水印位置
							ctx.draw(true, () => {
								uni.canvasToTempFilePath({
									canvasId: 'watermarkCanvas',
									success: (res) => {
										console.log("res.tempFilePath", res.tempFilePath);
										resolve(res.tempFilePath);
									},
									fail: (err) => {
										reject(err);
									}
								});
							});
						},
						fail: (err) => {
							reject(err);
						}
					});
				});
			},
最终效果
预览画面
绘制好的水印照片
最后
水印照片的比例以及水印的位置需要自己多调试几次找到合适的比例和位置。
免责声明:我们致力于保护作者版权,注重分享,被刊用文章因无法核实真实出处,未能及时与作者取得联系,或有版权异议的,请联系管理员,我们会立即处理! 部分文章是来自自研大数据AI进行生成,内容摘自(百度百科,百度知道,头条百科,中国民法典,刑法,牛津词典,新华词典,汉语词典,国家院校,科普平台)等数据,内容仅供学习参考,不准确地方联系删除处理! 图片声明:本站部分配图来自人工智能系统AI生成,觅知网授权图片,PxHere摄影无版权图库和百度,360,搜狗等多加搜索引擎自动关键词搜索配图,如有侵权的图片,请第一时间联系我们,邮箱:ciyunidc@ciyunshuju.com。本站只作为美观性配图使用,无任何非法侵犯第三方意图,一切解释权归图片著作权方,本站不承担任何责任。如有恶意碰瓷者,必当奉陪到底严惩不贷!


