2024年HarmonyOS鸿蒙最全HarmonyOS Next 手写绘制及保存图片案例,HarmonyOS鸿蒙经典面试
网上学习资料一大堆,但如果学到的知识不成体系,遇到问题时只是浅尝辄止,不再深入研究,那么很难做到真正的技术提升。
需要这份系统化的资料的朋友,可以戳这里获取
一个人可以走的很快,但一群人才能走的更远!不论你是正从事IT行业的老鸟或是对IT行业感兴趣的新人,都欢迎加入我们的的圈子(技术交流、学习资源、职场吐槽、大厂内推、面试辅导),让我们一起学习成长!
// TODO:知识点:在手指按下时创建新的MyRenderNode对象,挂载到rootRenderNode上,手指移动时根据触摸点坐标绘制线条,并重新渲染节点
// 获取手指触摸位置的坐标点
const positionX: number = vp2px(event.touches[0].x);
const positionY: number = vp2px(event.touches[0].y);
logger.info(TAG, `Touch positionX: ${positionX}, Touch positionY: ${positionY}`);
switch (event.type) {
  case TouchType.Down: {
    // 每次手指按下,创建一个MyRenderNode对象,用于记录和绘制手指移动的轨迹
    const newNode = new MyRenderNode();
    // 定义newNode的大小和位置,位置从组件NodeContainer的左上角(0,0)坐标开始,大小为NodeContainer的宽高
    newNode.frame = { x: 0, y: 0, width: this.myNodeController.width, height: this.myNodeController.height };
    this.currentNode = newNode;
    // 移动新节点中的路径path到手指按下的坐标点
    this.currentNode.path.moveTo(positionX, positionY);
    if (this.myNodeController.rootRenderNode !== null) {
      // appendChild在renderNode最后一个子节点后添加新的子节点
      this.myNodeController.rootRenderNode.appendChild(this.currentNode);
      // 已挂载的节点数量加一
      this.nodeCount++;
    }
    break;
  }
  case TouchType.Move: {
    if (this.currentNode !== null) {
      // 手指移动,绘制移动轨迹
      this.currentNode.path.lineTo(positionX, positionY);
      // 节点的path更新后需要调用invalidate()方法触发重新渲染
      this.currentNode.invalidate();
    }
    break;
  }
  case TouchType.Up: {
    // 手指抬起,释放this.currentNode
    this.currentNode = null;
  }
  default: {
    break;
  }
}
}
1. rootRenderNode调用getChild方法获取最后一个挂载的子节点,再使用removeChild方法移除,实现撤销上一笔的效果。源码参考[HandWritingToImage.ets]( )
goBack() {
if (this.myNodeController.rootRenderNode !== null && this.nodeCount > 0) {
// getChild获取最后挂载的子节点
const node = this.myNodeController.rootRenderNode.getChild(this.nodeCount - 1);
// removeChild移除指定子节点
this.myNodeController.rootRenderNode.removeChild(node);
this.nodeCount–;
}
}
1. 使用clearChildren清除当前rootRenderNode的所有子节点,实现画布重置,nodeCount清零。源码参考[HandWritingToImage.ets]( )
resetCanvas() {
if (this.myNodeController.rootRenderNode !== null && this.nodeCount > 0) {
// 清除当前rootRenderNode的所有子节点
this.myNodeController.rootRenderNode.clearChildren();
this.nodeCount = 0;
}
}
1. 使用componentSnapshot.get获取组件NodeContainer的PixelMap对象,用于保存图片。源码参考[HandWritingToImage.ets]( )
componentSnapshot.get(NODE_CONTAINER_ID, async (error: Error, pixelMap: image.PixelMap) => {
if (pixelMap !== null) {
// 图片写入文件
this.filePath = await this.saveFile(getContext(), pixelMap);
logger.info(TAG, Images saved using the packing method are located in : ${this.filePath});
}
})
1. 使用image库的packToFile()和packing()将获取的PixelMap对象保存为图片。源码参考[HandWritingToImage.ets]( )
* ImagePacker.packToFile()可直接将PixelMap对象写入为图片。
async packToFile(context: Context, pixelMap: PixelMap): Promise {
// 创建图像编码ImagePacker对象
const imagePackerApi = image.createImagePacker();
// 设置编码输出流和编码参数。format为图像的编码格式;quality为图像质量,范围从0-100,100为最佳质量
const options: image.PackingOption = { format: “image/jpeg”, quality: 100 };
// 图片写入的沙箱路径
const filePath: string = ${context.filesDir}/${getTimeStr()}.jpg;
const file: fs.File = await fs.open(filePath, fs.OpenMode.CREATE | fs.OpenMode.READ_WRITE);
// 使用packToFile直接将pixelMap写入文件
await imagePackerApi.packToFile(pixelMap, file.fd, options);
fs.closeSync(file);
return filePath;
}
* ImagePacker.packing()可获取图片的ArrayBuffer数据,再使用fs将数据写入为图片。
async saveFile(context: Context, pixelMap: PixelMap): Promise {
// 创建图像编码ImagePacker对象
const imagePackerApi = image.createImagePacker();
// 设置编码输出流和编码参数。format为图像的编码格式;quality为图像质量,范围从0-100,100为最佳质量
const options: image.PackingOption = { format: “image/jpeg”, quality: 100 };
// 图片写入的沙箱路径
const filePath: string = ${context.filesDir}/${getTimeStr()}.jpg;
const file: fs.File = await fs.open(filePath, fs.OpenMode.READ_WRITE | fs.OpenMode.CREATE);
// 使用packing打包获取图片的ArrayBuffer
const data: ArrayBuffer = await imagePackerApi.packing(pixelMap, options);
// 将图片的ArrayBuffer数据写入文件
fs.writeSync(file.fd, data);
fs.closeSync(file);
return filePath;
}
#### 高性能知识点
不涉及
#### 工程结构&模块类型
handwritingtoimage // har类型
|—/src/main/ets/model
| |—RenderNodeModel.ets // 模型层-节点数据模型
|—/src/main/ets/view
| |—HandWritingToImage.ets // 视图层-手写板场景页面
#### 模块依赖 1. 本实例依赖common模块中的[日志工具类logger]( )。 ### 最后 有很多小伙伴不知道学习哪些鸿蒙开发技术?不知道需要重点掌握哪些鸿蒙应用开发知识点?而且学习时频繁踩坑,最终浪费大量时间。所以有一份实用的**鸿蒙(HarmonyOS NEXT)资料**用来跟着学习是非常有必要的。 **这份鸿蒙(HarmonyOS NEXT)资料包含了鸿蒙开发必掌握的核心知识要点,内容包含了**(**ArkTS、ArkUI开发组件、Stage模型、多端部署、分布式应用开发、音频、视频、WebGL、OpenHarmony****多媒体技术、Napi组件、OpenHarmony内核、Harmony南向开发、鸿蒙项目实战等等)鸿蒙(HarmonyOS NEXT)**技术知识点。 希望这一份鸿蒙学习资料能够给大家带来帮助,有需要的小伙伴自行领取,**限时开源,先到先得~无套路领取!!** **如果你是一名有经验的资深Android移动开发、Java开发、前端开发、对鸿蒙感兴趣以及转行人员,可以直接领取这份资料** **获取这份完整版高清学习路线,请点击→**[纯血版全套鸿蒙HarmonyOS学习资料]( )**** ### **鸿蒙(HarmonyOS NEXT)最新学习路线** **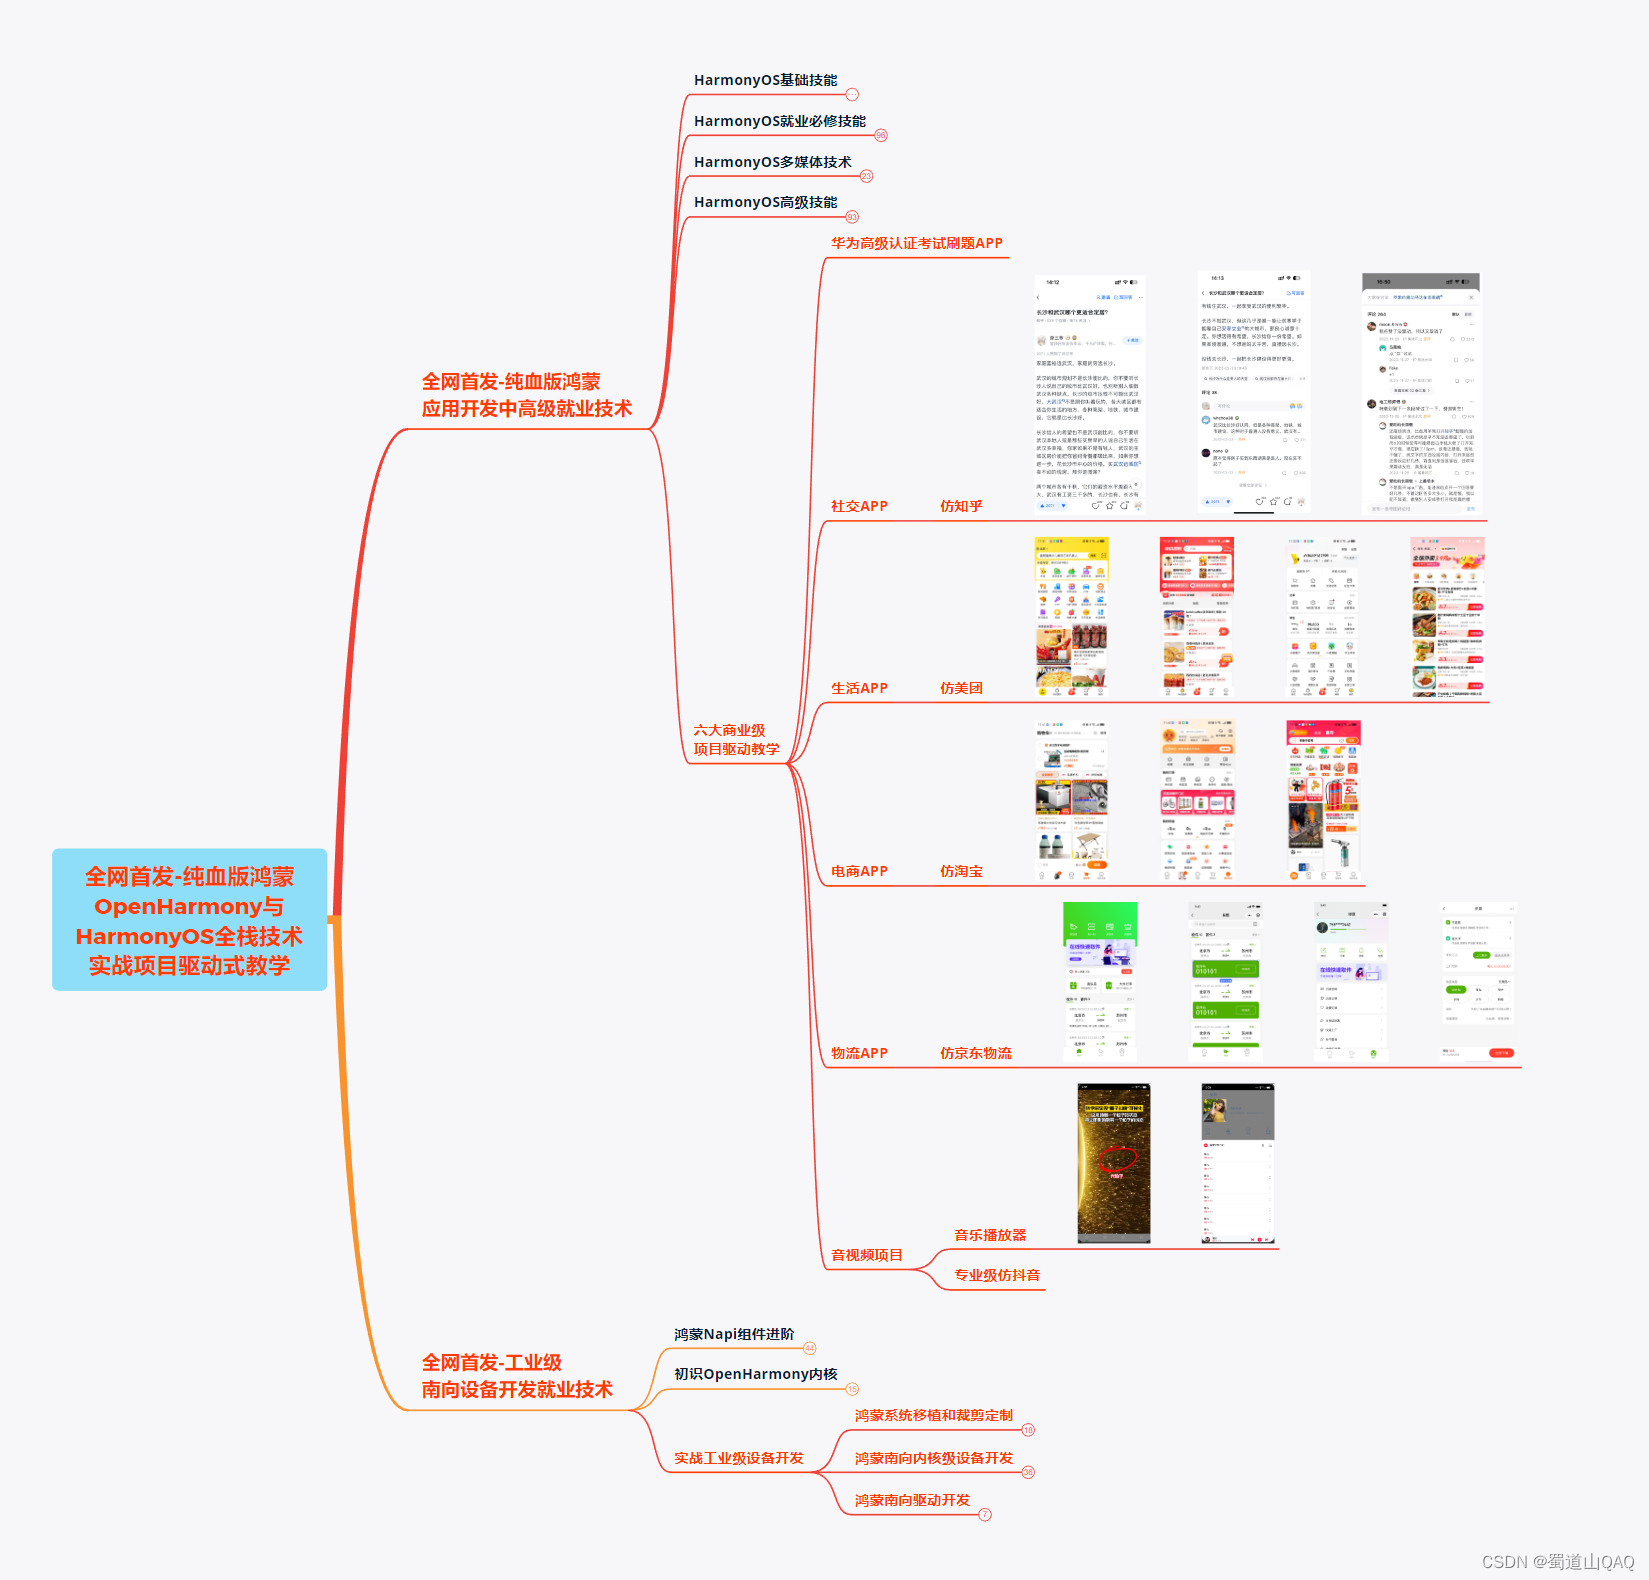** * **HarmonOS基础技能** 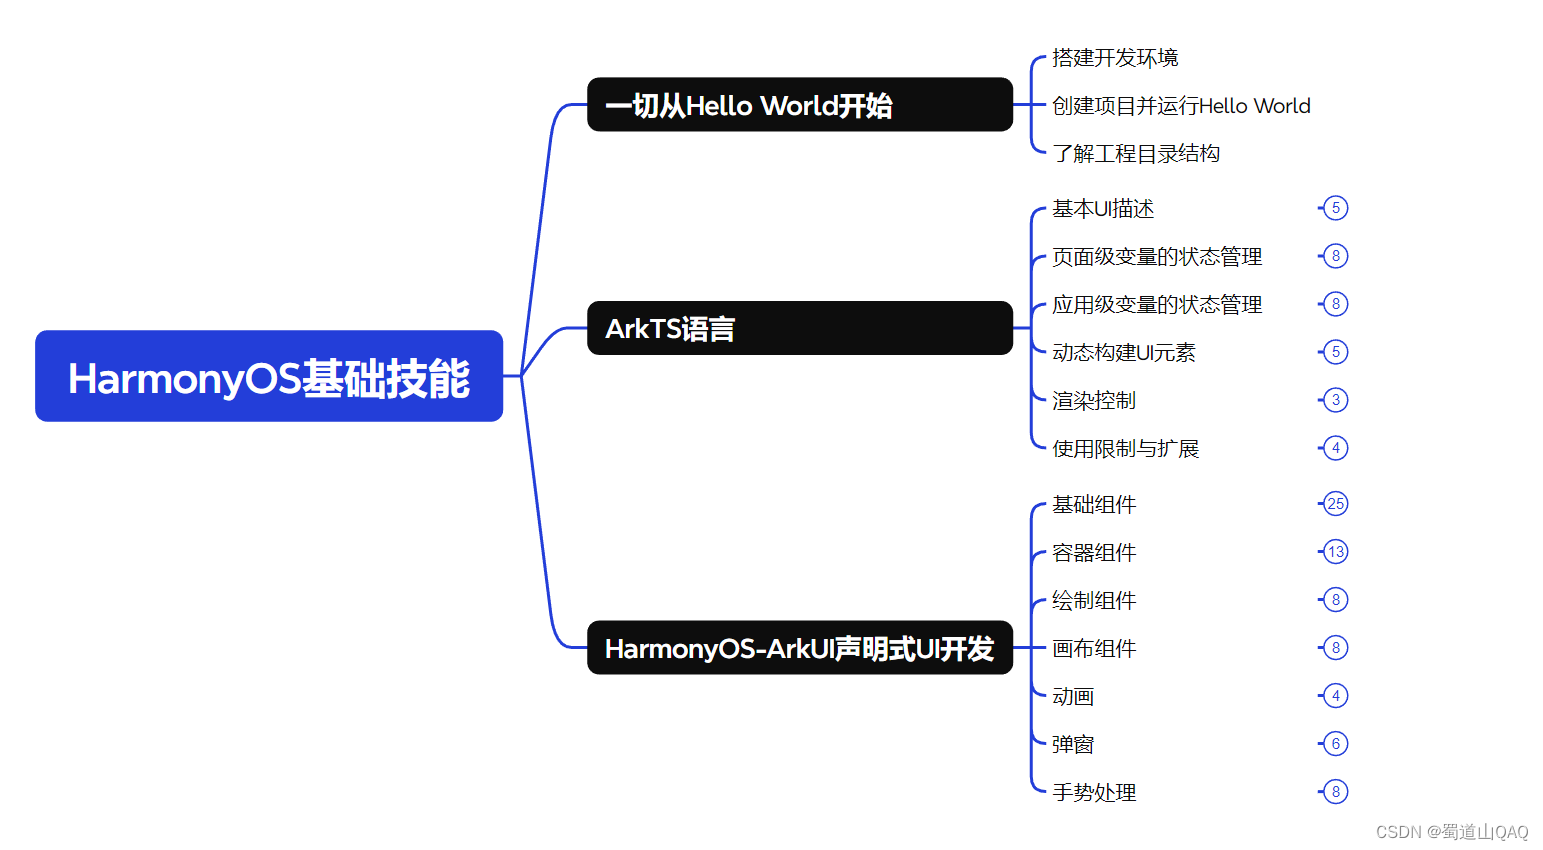 * **HarmonOS就业必备技能** 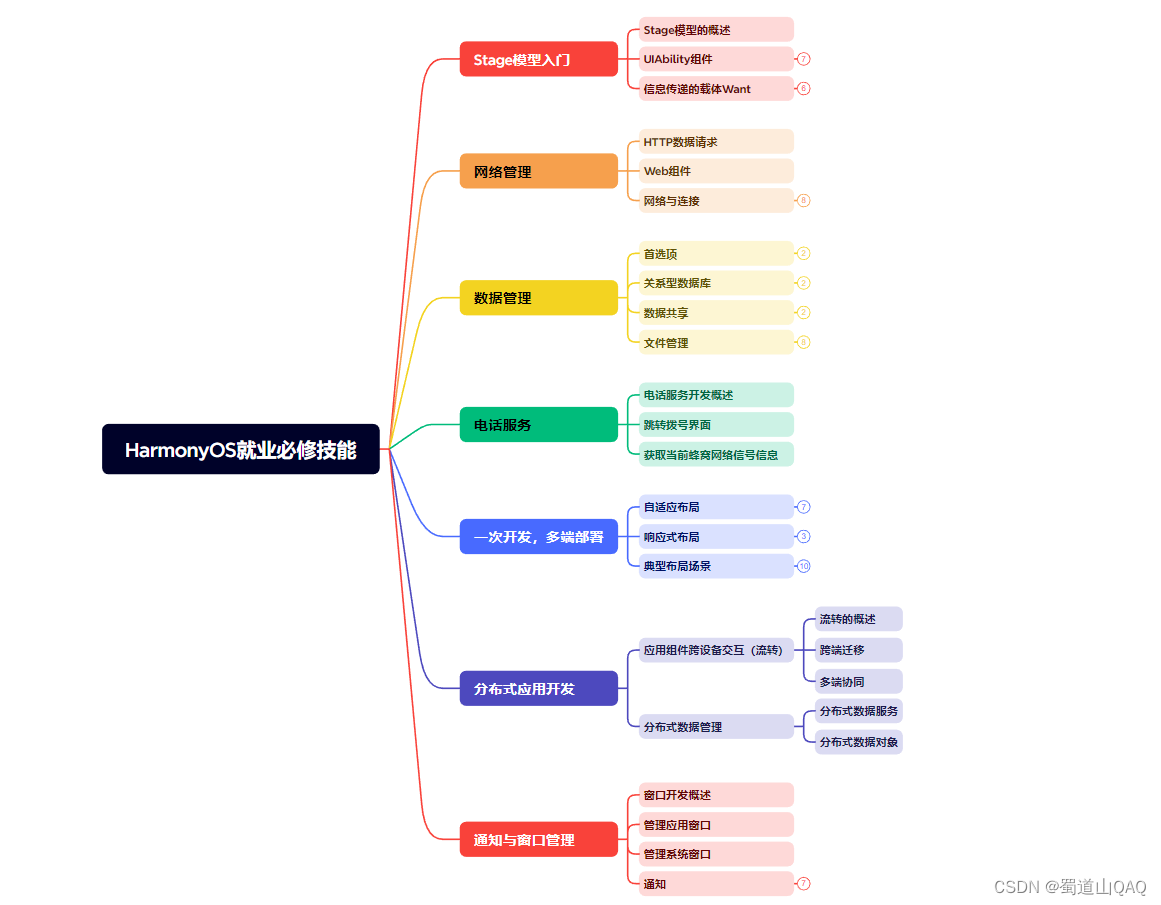 * **HarmonOS多媒体技术** 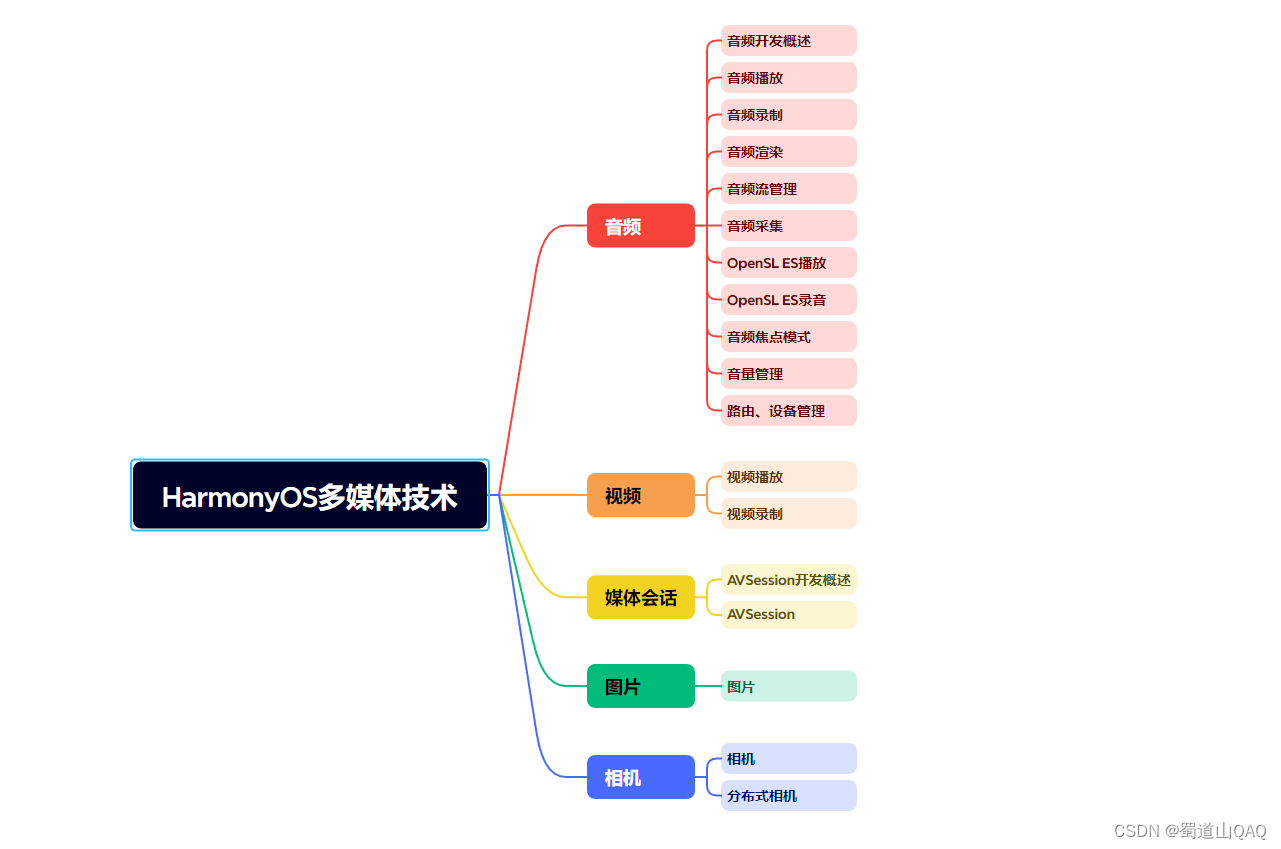 * **鸿蒙NaPi组件进阶** 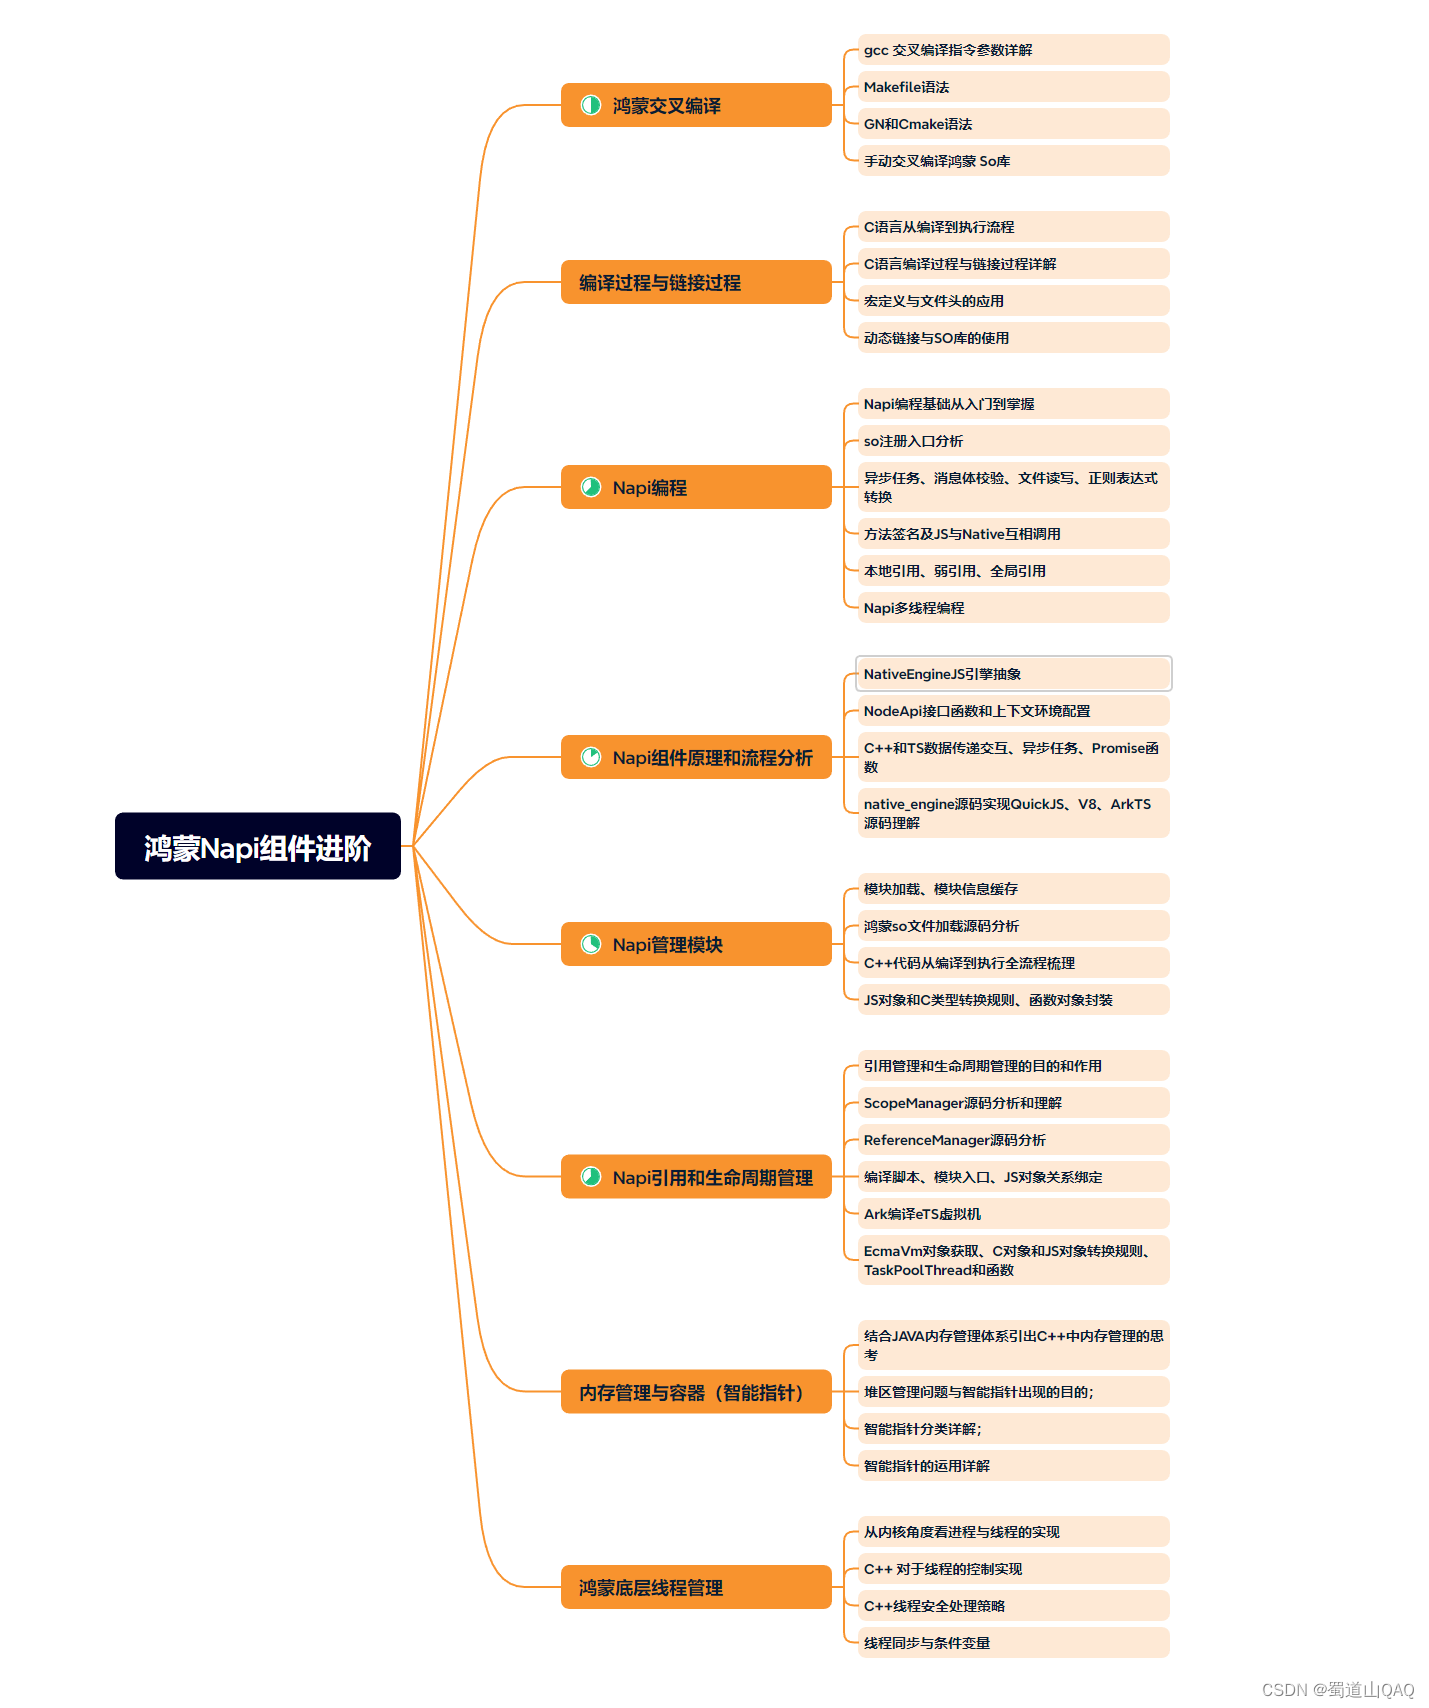 * **HarmonOS高级技能** 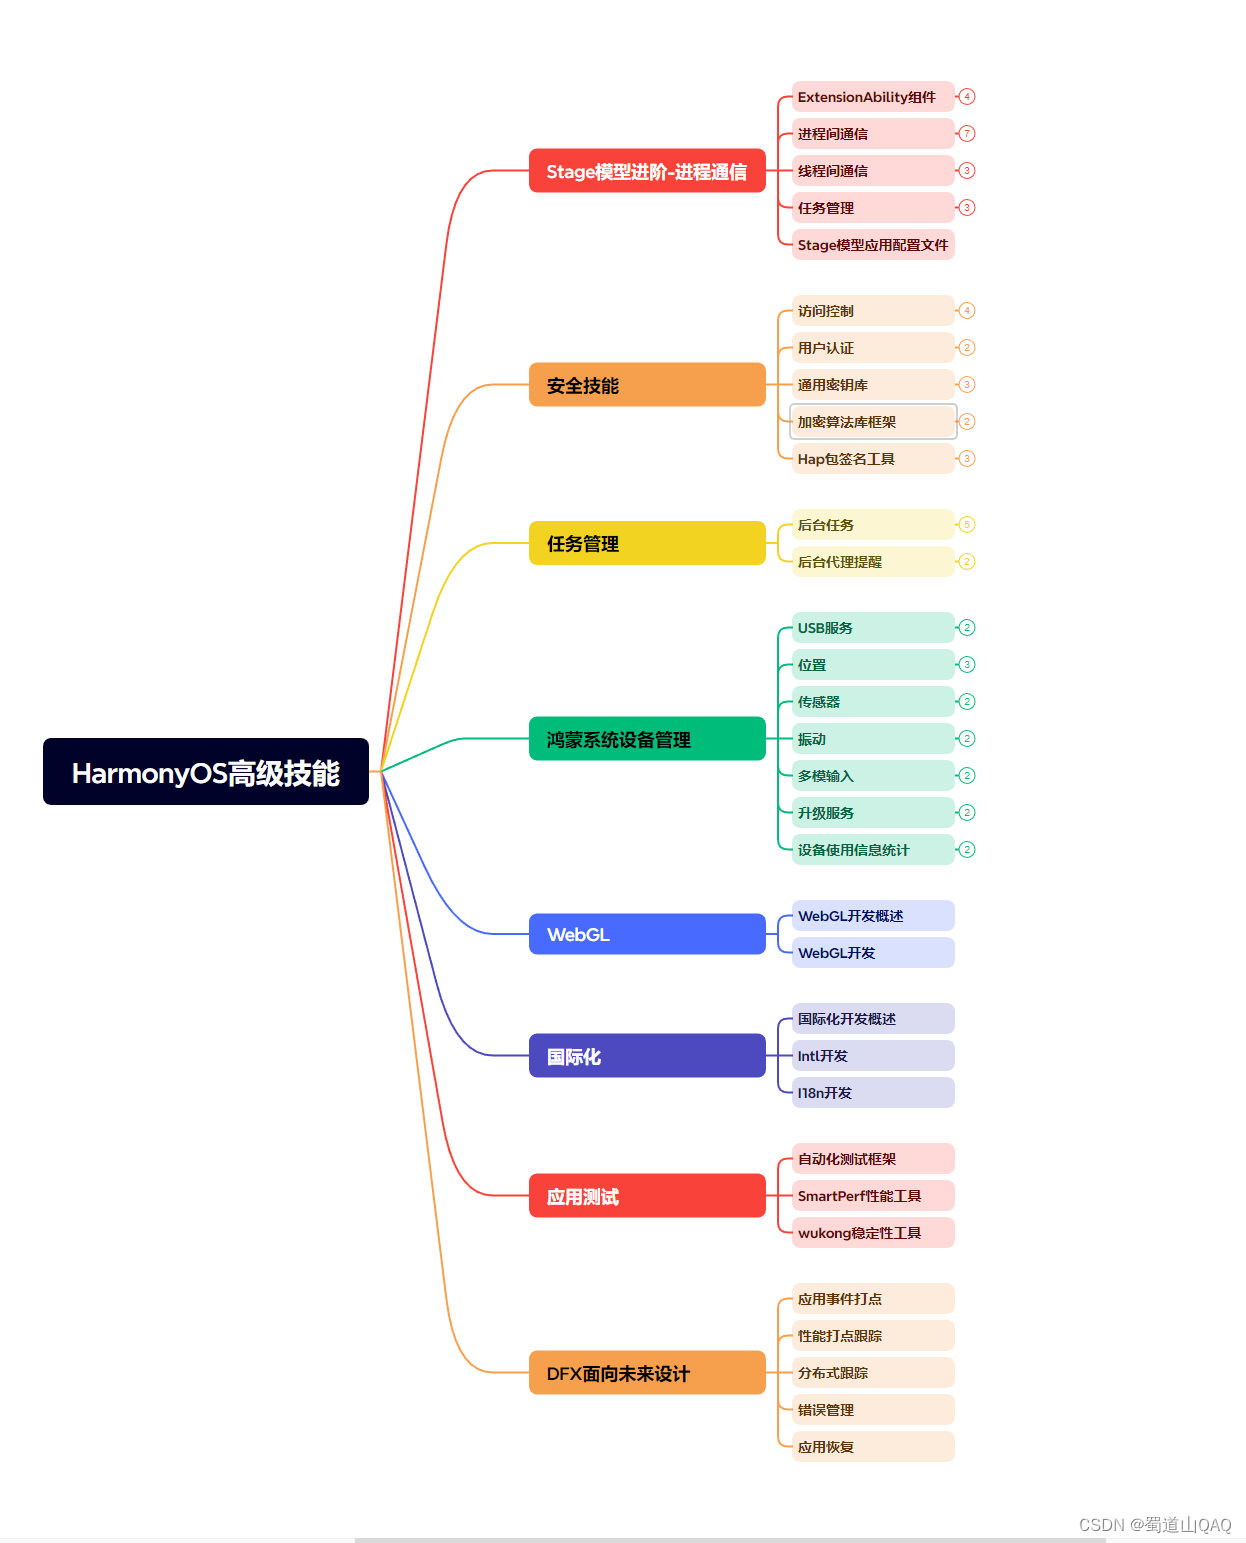 * **初识HarmonOS内核**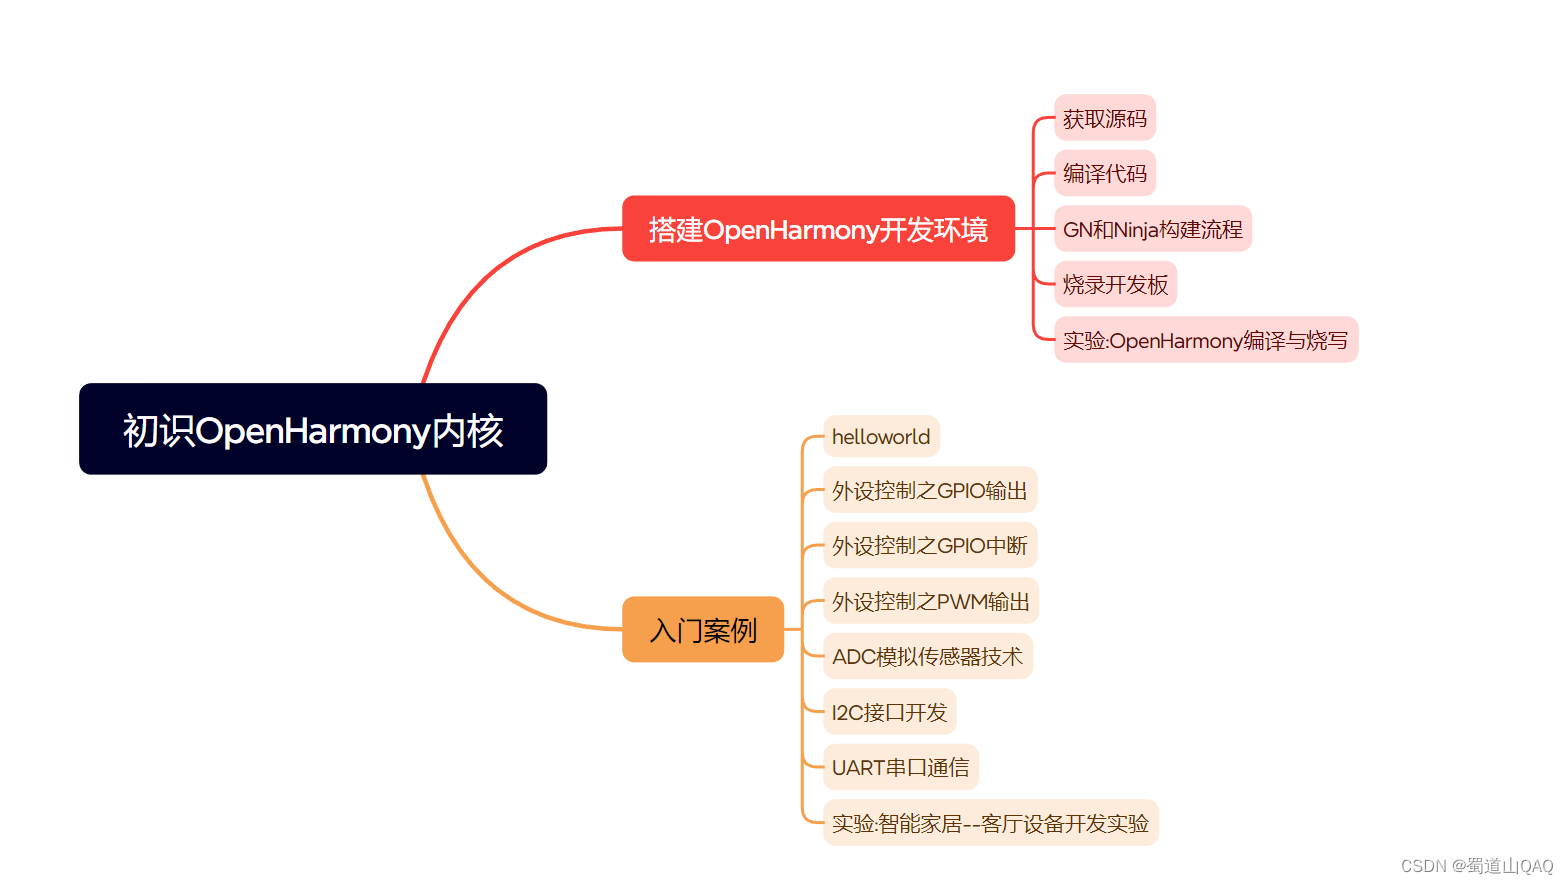 * **实战就业级设备开发** 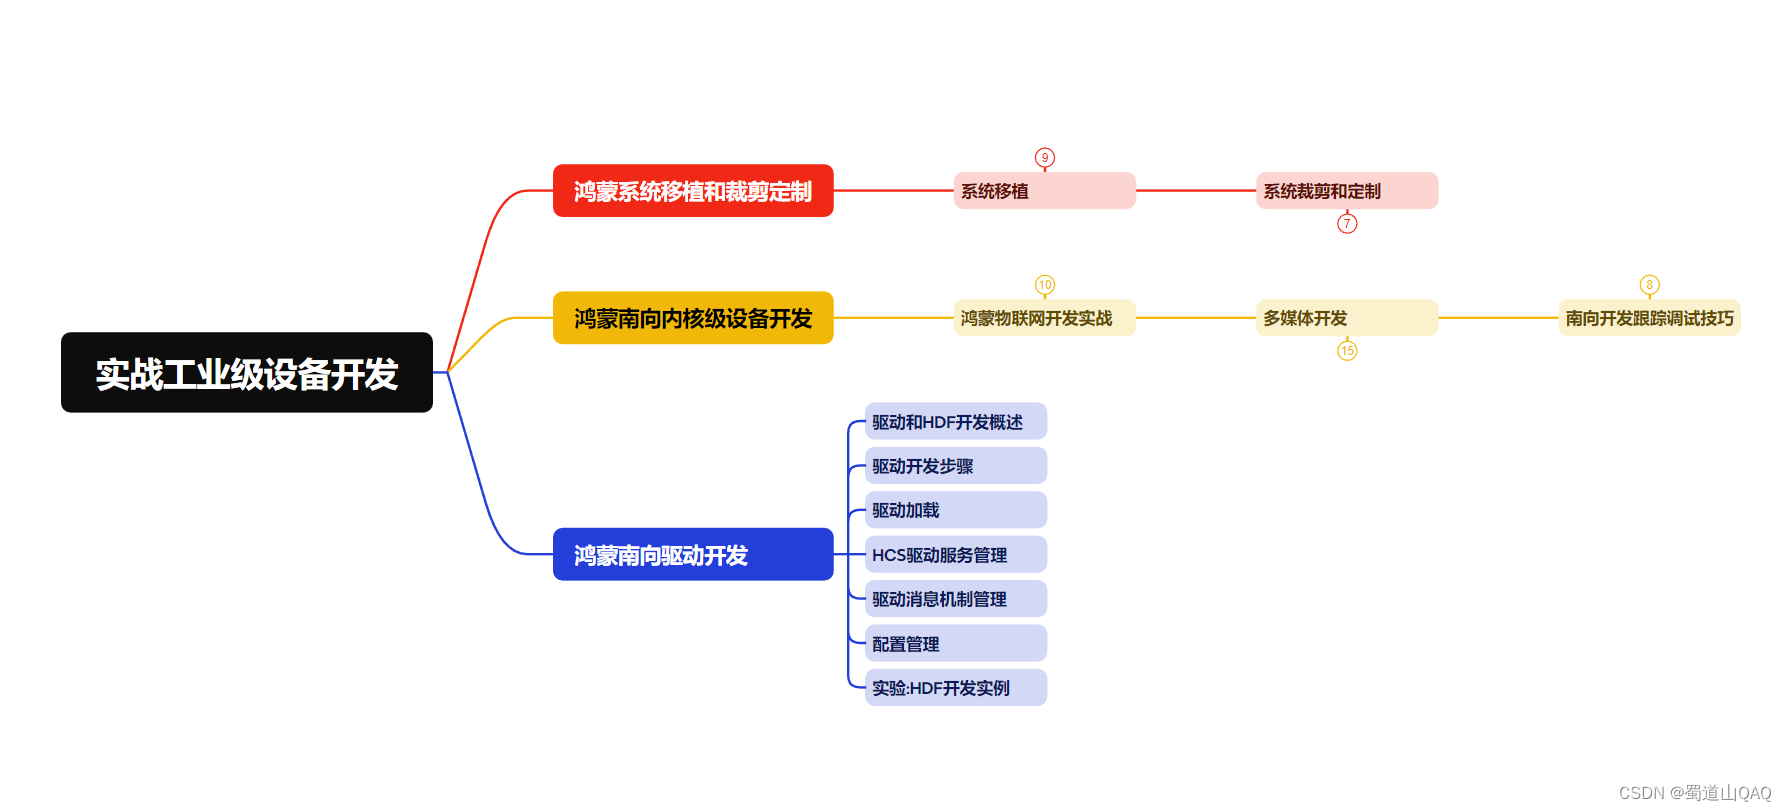 有了路线图,怎么能没有学习资料呢,小编也准备了一份联合鸿蒙官方发布笔记整理收纳的一套系统性的**鸿蒙(OpenHarmony )学习手册(共计1236页)**与**鸿蒙(OpenHarmony )开发入门教学视频**,内容包含:**ArkTS、ArkUI、Web开发、应用模型、资源分类…等知识点。** **获取以上完整版高清学习路线,请点击→[纯血版全套鸿蒙HarmonyOS学习资料]( )** #### **《鸿蒙 (OpenHarmony)开发入门教学视频》** 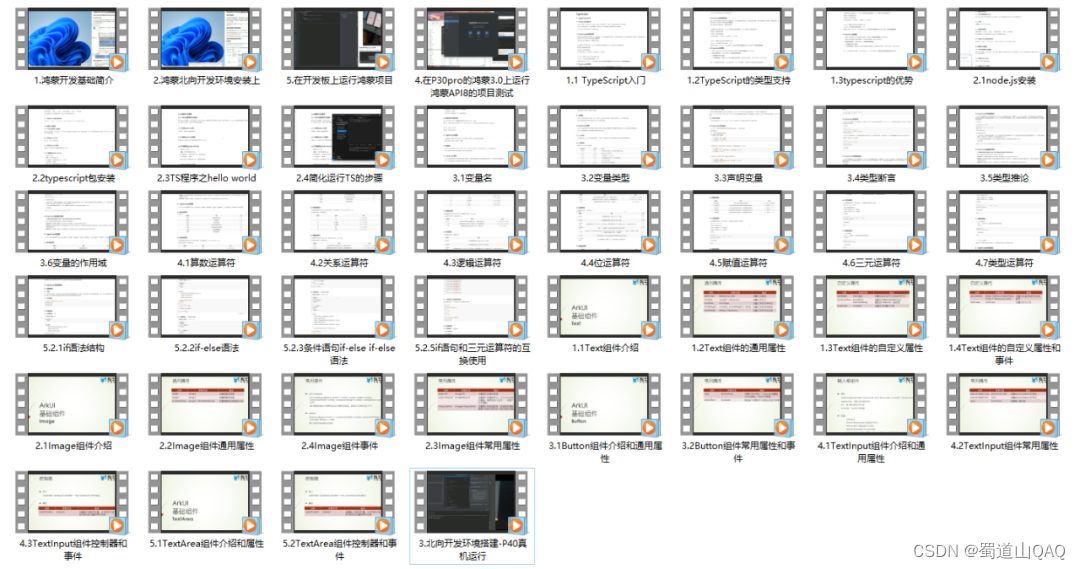 #### 《鸿蒙生态应用开发V2.0白皮书》 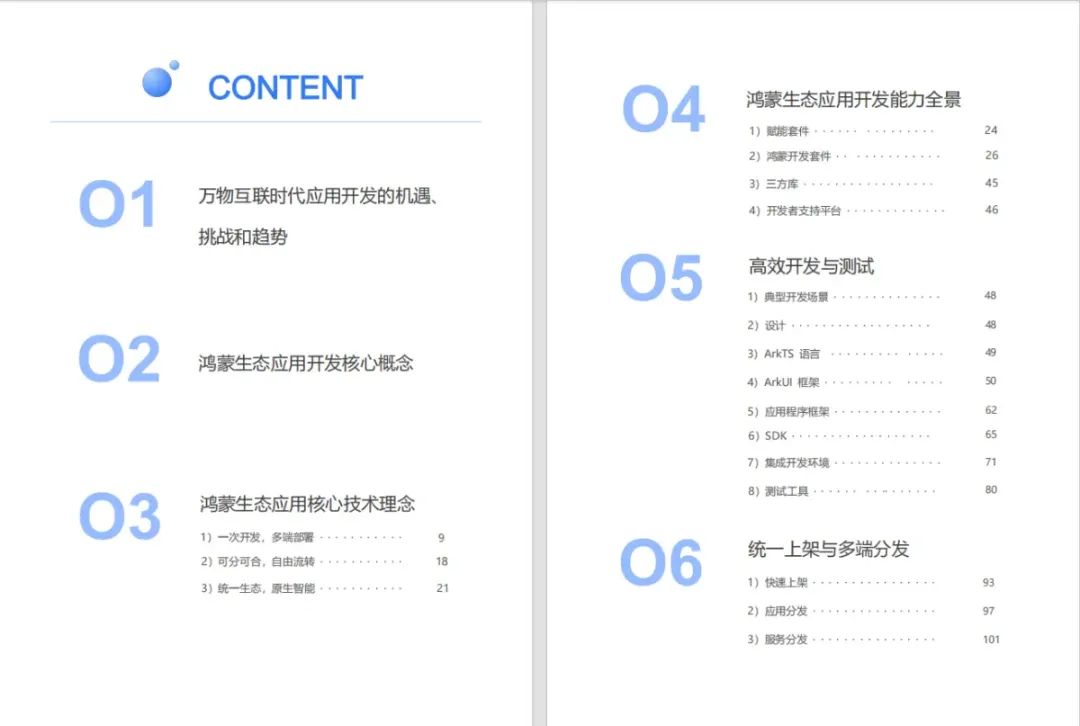 #### **《鸿蒙 (OpenHarmony)开发基础到实战手册》** OpenHarmony北向、南向开发环境搭建 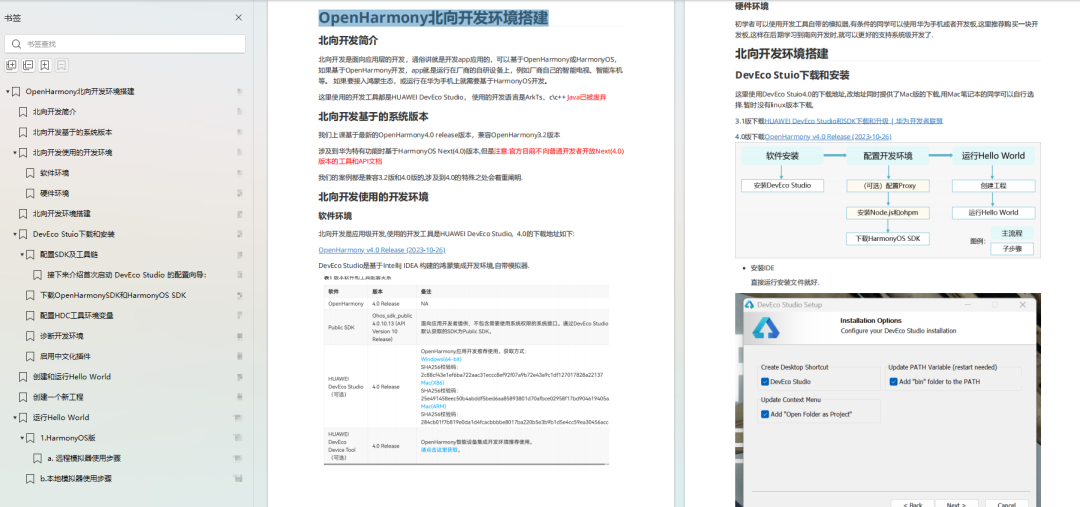 #### **《鸿蒙开发基础》** * ArkTS语言 * 安装DevEco Studio * 运用你的第一个ArkTS应用 * ArkUI声明式UI开发 * .…… 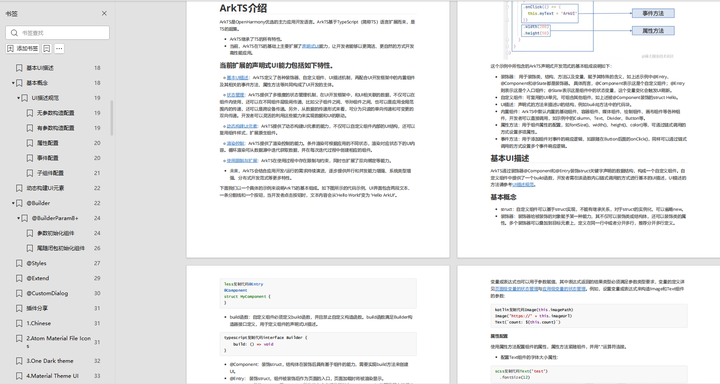 #### **《鸿蒙开发进阶》** 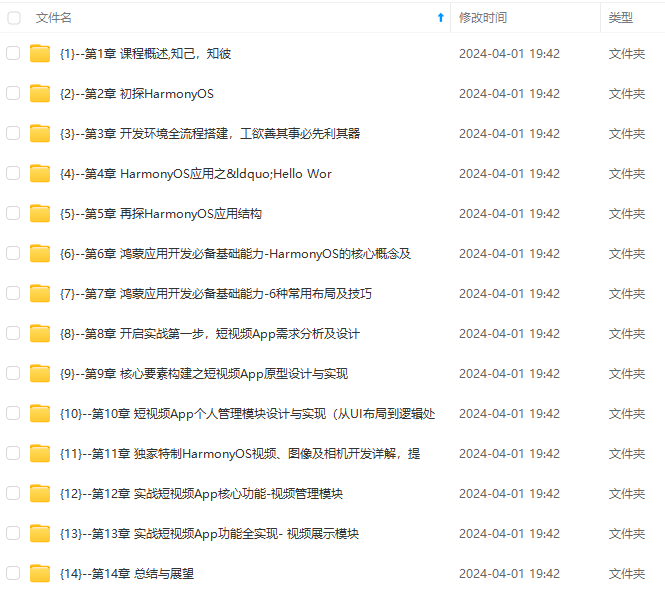 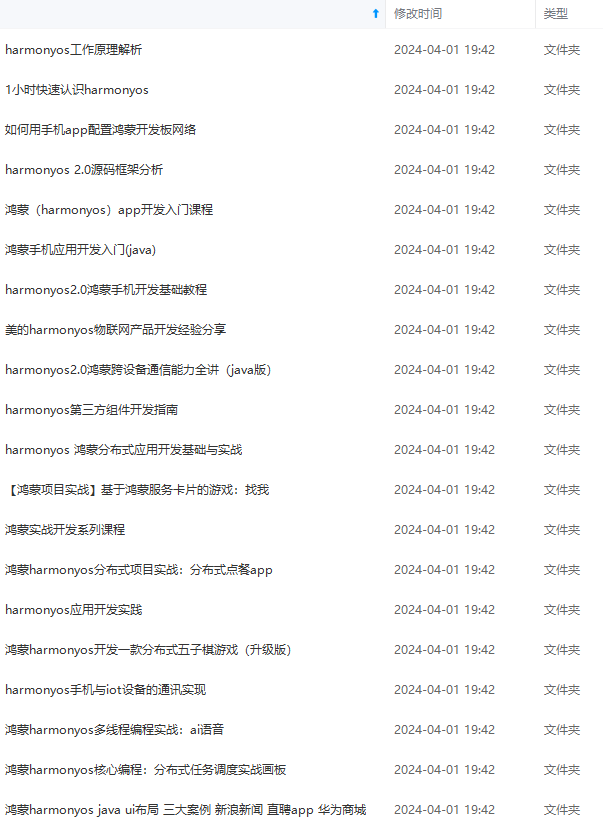 **网上学习资料一大堆,但如果学到的知识不成体系,遇到问题时只是浅尝辄止,不再深入研究,那么很难做到真正的技术提升。** **[需要这份系统化的资料的朋友,可以戳这里获取](https://bbs.csdn.net/topics/618636735)** **一个人可以走的很快,但一群人才能走的更远!不论你是正从事IT行业的老鸟或是对IT行业感兴趣的新人,都欢迎加入我们的的圈子(技术交流、学习资源、职场吐槽、大厂内推、面试辅导),让我们一起学习成长!** 中...(img-0WMlsZyK-1715613226607)] **网上学习资料一大堆,但如果学到的知识不成体系,遇到问题时只是浅尝辄止,不再深入研究,那么很难做到真正的技术提升。** **[需要这份系统化的资料的朋友,可以戳这里获取](https://bbs.csdn.net/topics/618636735)** **一个人可以走的很快,但一群人才能走的更远!不论你是正从事IT行业的老鸟或是对IT行业感兴趣的新人,都欢迎加入我们的的圈子(技术交流、学习资源、职场吐槽、大厂内推、面试辅导),让我们一起学习成长!**


