
Java版Flink使用指南——从RabbitMQ中队列中接入消息流
大纲
- 创建RabbitMQ队列
- 新建工程
- 新增依赖
- 编码
- 设置数据源配置
- 读取、处理数据
- 完整代码
- 打包、上传和运行任务
- 测试
- 工程代码
在《Java版Flink使用指南——安装Flink和使用IntelliJ制作任务包》一文中,我们完成了第一个小型Demo的编写。例子中的数据是代码预先指定的。而现实中,数据往往来源于外部。本文我们将尝试Flink从RabbitMQ中读取数据,然后输出到日志中。
关于RabbitMQ的知识可以参阅《RabbitMQ实践》。
创建RabbitMQ队列
我们创建一个Classic队列data.from.rbtmq。注意要选择Durable类型,这是后续用的默认连接器的限制。
具体方法见《RabbitMQ实践——在管理后台测试消息收发功能》。

后续我们将在后台通过默认交换器,给这个队列新增消息。
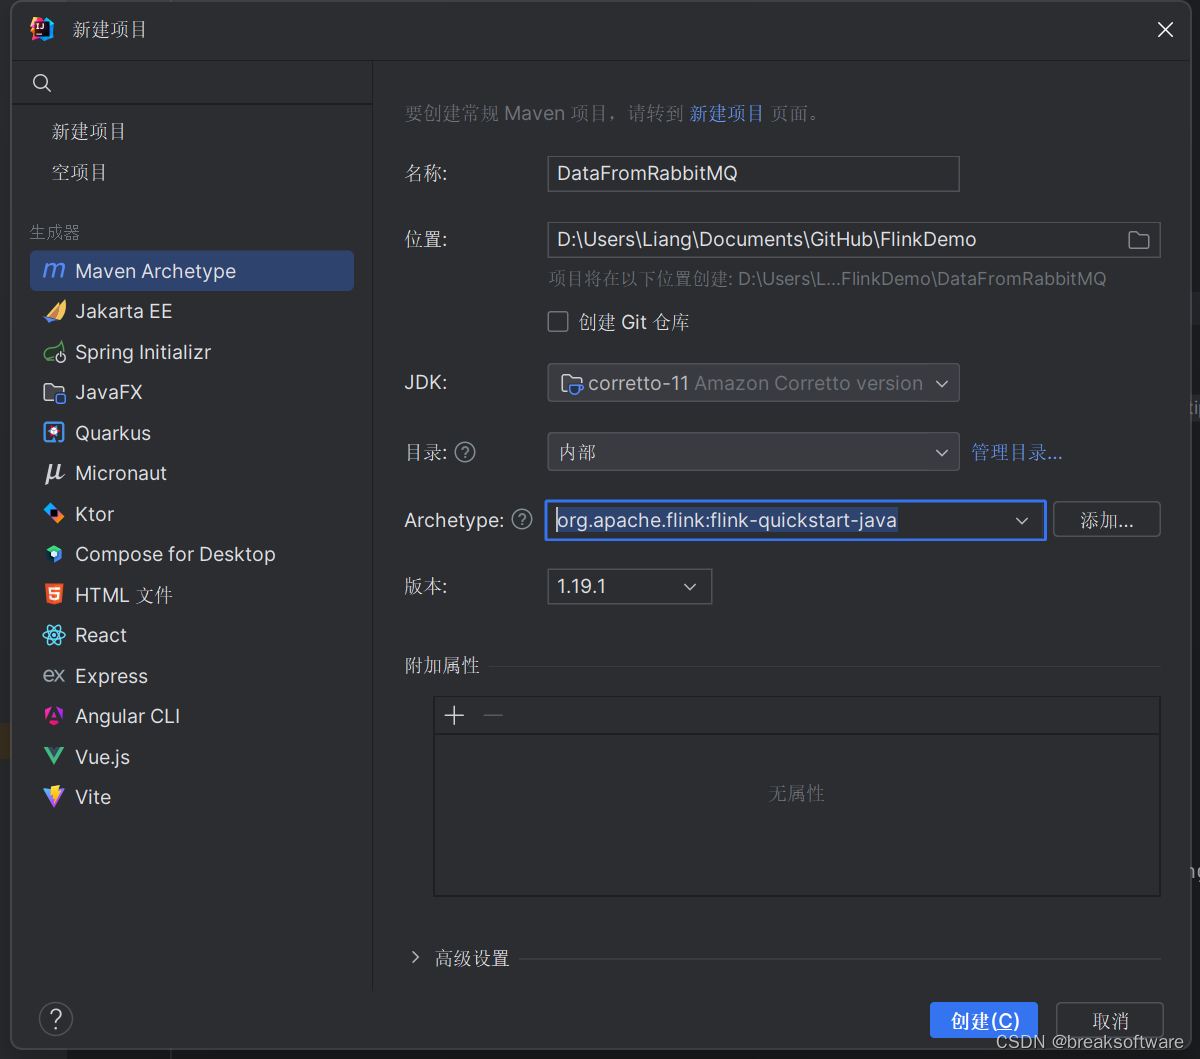
新建工程
我们在IntelliJ中新建一个工程DataFromRabbitMQ。
Archetype填入:org.apache.flink:flink-quickstart-java。
版本填入与Flink的版本:1.19.1
新增依赖
在pom.xml中新增RabbitMQ连接器
	org.apache.flink
	flink-connector-rabbitmq
	3.0.1-1.17
编码
设置数据源配置
String queueName = "data.from.rbtmq";
String host = "172.21.112.140"; // IP of the rabbitmq server
int port = 5672;
String username = "admin";
String password = "fangliang";
String virtualHost = "/";
int parallelism = 1;
// create a RabbitMQ source
RMQConnectionConfig rmqConnectionConfig = new RMQConnectionConfig.Builder()
		.setHost(host)
		.setPort(port)
		.setUserName(username)
		.setPassword(password)
		.setVirtualHost(virtualHost)
		.build();
RMQSource rmqSource = new RMQSource(rmqConnectionConfig, queueName, true, new SimpleStringSchema());
读取、处理数据
下面代码通过addSource添加RabbitMQ数据源。注意,不能使用fromSource方法,是因为RMQSource没有实现SourceFunction方法。
final DataStream stream = env.addSource(rmqSource).name(username + "'s source from " + queueName).setParallelism(parallelism);
stream.print().name(username + "'s data from " + queueName);
完整代码
/*
 * Licensed to the Apache Software Foundation (ASF) under one
 * or more contributor license agreements.  See the NOTICE file
 * distributed with this work for additional information
 * regarding copyright ownership.  The ASF licenses this file
 * to you under the Apache License, Version 2.0 (the
 * "License"); you may not use this file except in compliance
 * with the License.  You may obtain a copy of the License at
 *
 *     http://www.apache.org/licenses/LICENSE-2.0
 *
 * Unless required by applicable law or agreed to in writing, software
 * distributed under the License is distributed on an "AS IS" BASIS,
 * WITHOUT WARRANTIES OR CONDITIONS OF ANY KIND, either express or implied.
 * See the License for the specific language governing permissions and
 * limitations under the License.
 */
package org.example;
import org.apache.flink.api.common.serialization.SimpleStringSchema;
import org.apache.flink.streaming.api.datastream.DataStream;
import org.apache.flink.streaming.api.environment.StreamExecutionEnvironment;
import org.apache.flink.streaming.connectors.rabbitmq.RMQSource;
import org.apache.flink.streaming.connectors.rabbitmq.common.RMQConnectionConfig;
/**
 * Skeleton for a Flink DataStream Job.
 *
 * For a tutorial how to write a Flink application, check the
 * tutorials and examples on the Flink Website.
 *
 * To package your application into a JAR file for execution, run
 * 'mvn clean package' on the command line.
 *
 * If you change the name of the main class (with the public static void main(String[] args))
 * method, change the respective entry in the POM.xml file (simply search for 'mainClass').
 */
public class DataStreamJob {
	public static void main(String[] args) throws Exception {
		// Sets up the execution environment, which is the main entry point
		// to building Flink applications.
		final StreamExecutionEnvironment env = StreamExecutionEnvironment.getExecutionEnvironment();
		String queueName = "data.from.rbtmq";
		String host = "172.21.112.140"; // IP of the rabbitmq server
		int port = 5672;
		String username = "admin";
		String password = "fangliang";
		String virtualHost = "/";
		int parallelism = 1;
		// create a RabbitMQ source
		RMQConnectionConfig rmqConnectionConfig = new RMQConnectionConfig.Builder()
				.setHost(host)
				.setPort(port)
				.setUserName(username)
				.setPassword(password)
				.setVirtualHost(virtualHost)
				.build();
		RMQSource rmqSource = new RMQSource(rmqConnectionConfig, queueName, true, new SimpleStringSchema());
		final DataStream stream = env.addSource(rmqSource).name(username + "'s source from " + queueName).setParallelism(parallelism);
		stream.print().name(username + "'s data from " + queueName);
		env.execute("Flink Java API Skeleton");
	}
}
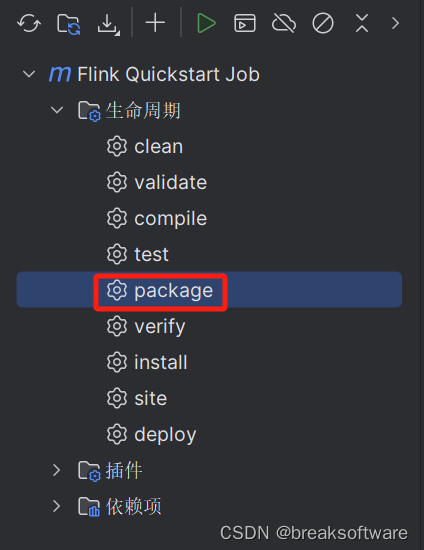
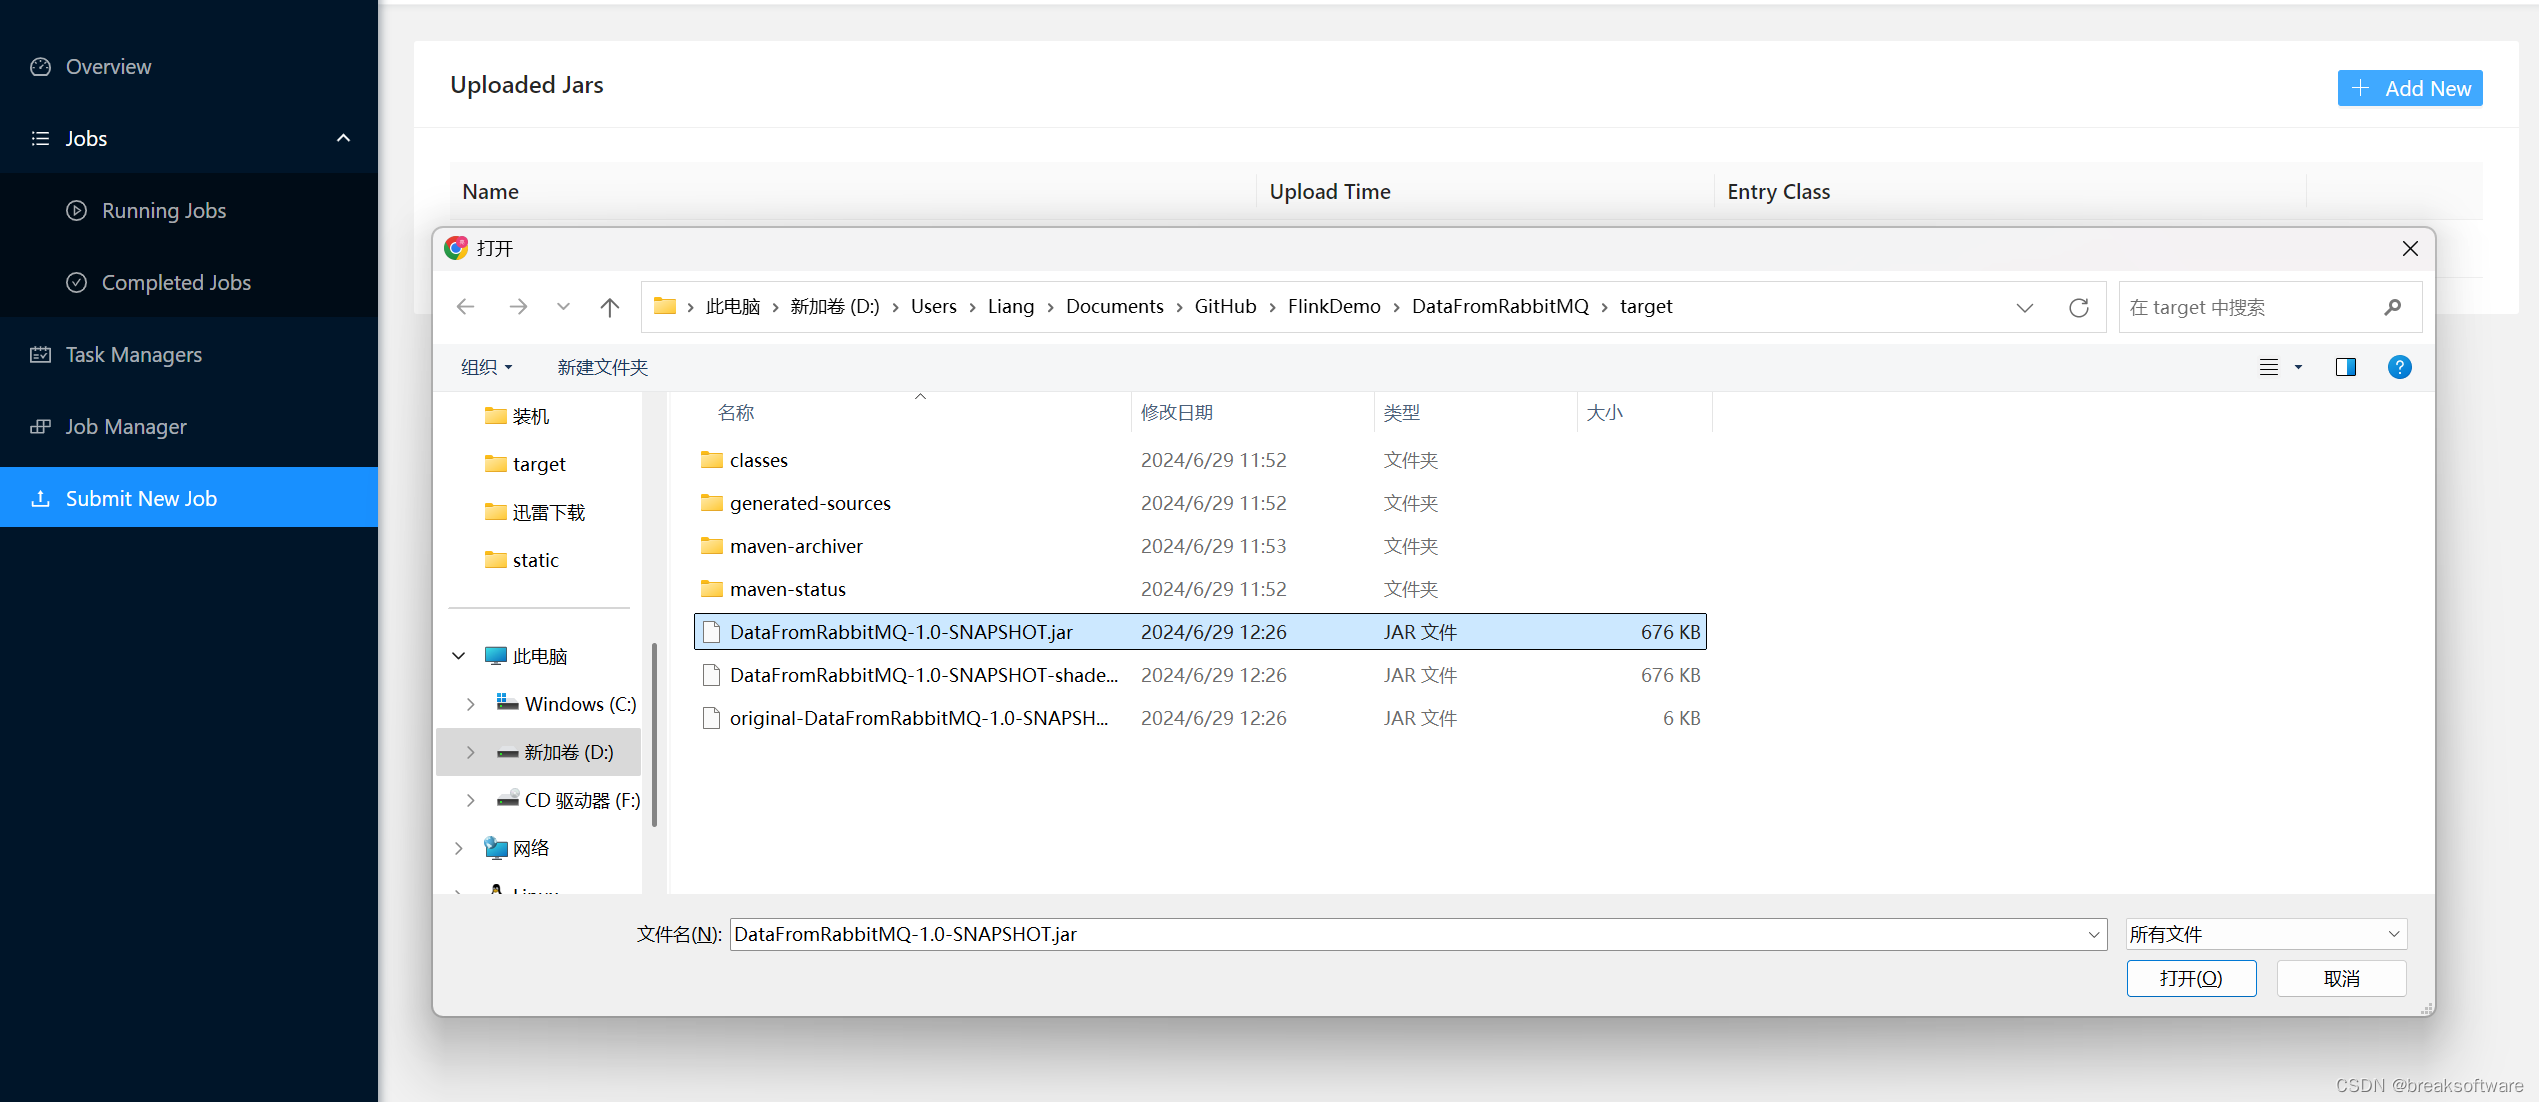
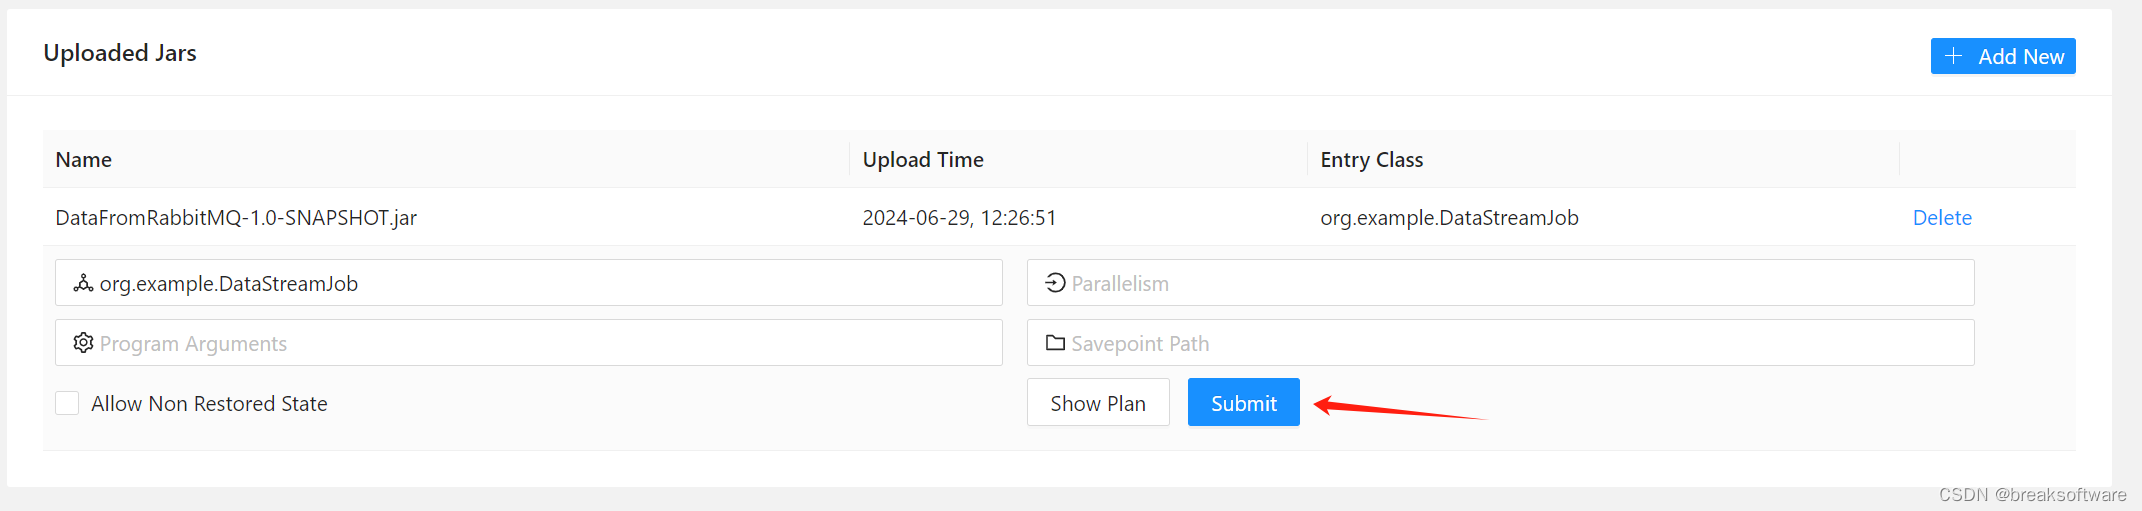
打包、上传和运行任务

测试
在RabbitMQ后台的默认交换器中,发布一条消息到data.from.rbtmq

然后使用下面指令可以看到Flink读取到消息并执行了print方法
tail log/flink-*-taskexecutor-*.out
==> flink-fangliang-taskexecutor-0-fangliang.out


