
【摄像头标定】双目摄像头标定及矫正-opencv(python)
双目摄像头标定及矫正
- 棋盘格标定板
- 标定
- 矫正
棋盘格标定板
本文使用棋盘格标定板,可以到这篇博客中下载:https://blog.csdn.net/qq_39330520/article/details/107864568

标定
要进行标定首先需要双目拍的棋盘格图片,20张左右,由于本文的双目摄像头嵌入在开发板底板中,并且使用的是ros进行开发,所以对于大部分人拍照这里是没有参考价值的,对于也是使用ros开发的小伙伴,需要写一个节点发布双目摄像头的图像数据,然后再写一个节点订阅双目摄像头数据进行拍照保存。本文重点也不在拍照,对于其他小伙伴可以直接搜索一些适用的拍照方法,只要能获得到图片即可。
左摄像头图片如下:

右摄像头图片如下:
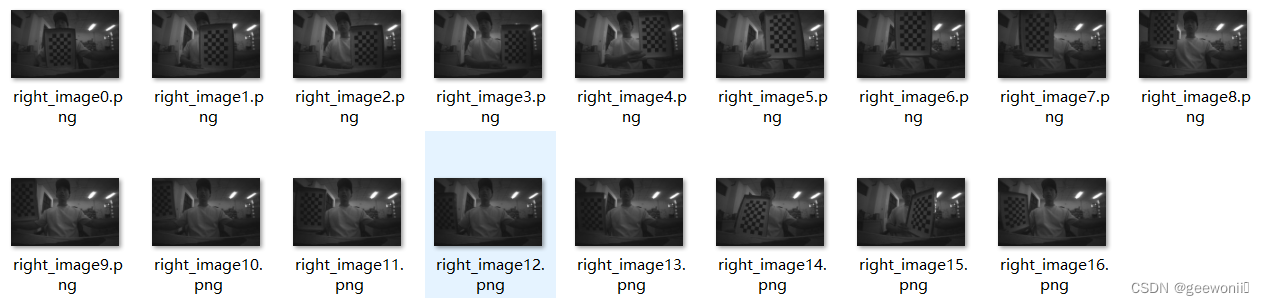
由于摄像头底层代码有问题,所以图像很暗,但不影响标定。
标定代码如下:
import cv2
import os
import numpy as np
import itertools
import yaml
# 定义文件夹路径
left_folder = "C:/new_pycharm_project/yolov10-main/shuangmu_left_pic"
right_folder = "C:/new_pycharm_project/yolov10-main/shuangmu_right_pic"
# 获取图像文件列表并排序
left_images = sorted(os.listdir(left_folder))
right_images = sorted(os.listdir(right_folder))
# 确保左右相机图像数量一致
assert len(left_images) == len(right_images), "左右相机图像数量不一致"
# 加载两个摄像头图片文件夹并将里面的彩图转换为灰度图
def load_images(folder, images):
    img_list = []
    for img_name in images:
        img_path = os.path.join(folder, img_name)
        frame = cv2.imread(img_path)
        if frame is not None:
            gray = cv2.cvtColor(frame, cv2.COLOR_BGR2GRAY)
            img_list.append((frame, gray))
        else:
            print(f"无法读取图像: {img_path}")
    return img_list
# 检测棋盘格角点
def get_corners(imgs, pattern_size):
    corners = []
    for frame, gray in imgs:
        ret, c = cv2.findChessboardCorners(gray, pattern_size)     #ret 表示是否成功找到棋盘格角点,c 是一个数组,包含了检测到的角点的坐标
        if not ret:
            print("未能检测到棋盘格角点")
            continue
        c = cv2.cornerSubPix(gray, c, (5, 5), (-1, -1),
                             (cv2.TERM_CRITERIA_EPS + cv2.TERM_CRITERIA_MAX_ITER, 30, 0.001))     #cv2.cornerSubPix 函数用于提高棋盘格角点的精确度,对初始检测到的角点坐标 c 进行优化
        corners.append(c)      #将优化后的角点坐标 c 添加到 corners 列表中
        # 绘制角点并显示
        vis = frame.copy()
        cv2.drawChessboardCorners(vis, pattern_size, c, ret)
        new_size = (1280, 800)
        resized_img = cv2.resize(vis, new_size)
        cv2.imshow('Corners', resized_img)
        cv2.waitKey(150)
    return corners
# 相机标定
def calibrate_camera(object_points, corners, imgsize):
    cm_input = np.eye(3, dtype=np.float32)
    ret = cv2.calibrateCamera(object_points, corners, imgsize, cm_input, None)
    return ret
def save_calibration_to_yaml(file_path, cameraMatrix_l, distCoeffs_l, cameraMatrix_r, distCoeffs_r, R, T, E, F):
    data = {
        'camera_matrix_left': {
            'rows': 3,
            'cols': 3,
            'dt': 'd',
            'data': cameraMatrix_l.flatten().tolist()
        },
        'dist_coeff_left': {
            'rows': 1,
            'cols': 5,
            'dt': 'd',
            'data': distCoeffs_l.flatten().tolist()
        },
        'camera_matrix_right': {
            'rows': 3,
            'cols': 3,
            'dt': 'd',
            'data': cameraMatrix_r.flatten().tolist()
        },
        'dist_coeff_right': {
            'rows': 1,
            'cols': 5,
            'dt': 'd',
            'data': distCoeffs_r.flatten().tolist()
        },
        'R': {
            'rows': 3,
            'cols': 3,
            'dt': 'd',
            'data': R.flatten().tolist()
        },
        'T': {
            'rows': 3,
            'cols': 1,
            'dt': 'd',
            'data': T.flatten().tolist()
        },
        'E': {
            'rows': 3,
            'cols': 3,
            'dt': 'd',
            'data': E.flatten().tolist()
        },
        'F': {
            'rows': 3,
            'cols': 3,
            'dt': 'd',
            'data': F.flatten().tolist()
        }
    }
    with open(file_path, 'w') as file:
        yaml.dump(data, file, default_flow_style=False)
    print(f"Calibration parameters saved to {file_path}")
img_left = load_images(left_folder, left_images)      #img_left是个列表,存放左摄像头所有的灰度图片。
img_right = load_images(right_folder, right_images)
pattern_size = (8, 5)
corners_left = get_corners(img_left, pattern_size)       #corners_left的长度表示检测到棋盘格角点的图像数量。corners_left[i] 和 corners_right[i] 中存储了第 i 张图像检测到的棋盘格角点的二维坐标。
corners_right = get_corners(img_right, pattern_size)
cv2.destroyAllWindows()
# 断言,确保所有图像都检测到角点
assert len(corners_left) == len(img_left), "有图像未检测到左相机的角点"
assert len(corners_right) == len(img_right), "有图像未检测到右相机的角点"
# 准备标定所需数据
points = np.zeros((8 * 5, 3), dtype=np.float32)   #创建40 行 3 列的零矩阵,用于存储棋盘格的三维坐标点。棋盘格的大小是 8 行 5 列,40 个角点。数据类型为 np.float32,这是一张图的,因为一个角点对应一个三维坐标
points[:, :2] = np.mgrid[0:8, 0:5].T.reshape(-1, 2) * 21  #给这些点赋予实际的物理坐标,* 21 是因为每个棋盘格的大小为 21mm
object_points = [points] * len(corners_left)     #包含了所有图像中棋盘格的三维物理坐标点 points。这里假设所有图像中棋盘格的物理坐标是相同的,因此用 points 复制 len(corners_left) 次。
imgsize = img_left[0][1].shape[::-1]     #img_left[0] 是左相机图像列表中的第一张图像。img_left[0][1] 是该图像的灰度图像。shape[::-1] 取灰度图像的宽度和高度,并反转顺序,以符合 calibrateCamera 函数的要求。
print('开始左相机标定')
ret_l = calibrate_camera(object_points, corners_left, imgsize)    #object_points表示标定板上检测到的棋盘格角点的三维坐标;corners_left[i]表示棋盘格角点在图像中的二维坐标;imgsize表示图像大小
retval_l, cameraMatrix_l, distCoeffs_l, rvecs_l, tvecs_l = ret_l[:5]    #返回值里就包含了标定的参数
print('开始右相机标定')
ret_r = calibrate_camera(object_points, corners_right, imgsize)
retval_r, cameraMatrix_r, distCoeffs_r, rvecs_r, tvecs_r = ret_r[:5]
# 立体标定,得到左右相机的外参:旋转矩阵、平移矩阵、本质矩阵、基本矩阵
print('开始立体标定')
criteria_stereo = (cv2.TERM_CRITERIA_EPS + cv2.TERM_CRITERIA_MAX_ITER, 30, 1e-5)
ret_stereo = cv2.stereoCalibrate(object_points, corners_left, corners_right,
                                 cameraMatrix_l, distCoeffs_l,
                                 cameraMatrix_r, distCoeffs_r,
                                 imgsize, criteria=criteria_stereo,
                                 flags=cv2.CALIB_FIX_INTRINSIC)
ret, _, _, _, _, R, T, E, F = ret_stereo
# 输出结果
print("左相机内参:\n", cameraMatrix_l)
print("左相机畸变系数:\n", distCoeffs_l)
print("右相机内参:\n", cameraMatrix_r)
print("右相机畸变系数:\n", distCoeffs_r)
print("旋转矩阵 R:\n", R)
print("平移向量 T:\n", T)
print("本质矩阵 E:\n", E)
print("基本矩阵 F:\n", F)
print("标定完成")
# 保存标定结果
save_calibration_to_yaml('calibration_parameters.yaml', cameraMatrix_l, distCoeffs_l, cameraMatrix_r, distCoeffs_r, R, T, E, F)
# 计算重投影误差
def compute_reprojection_errors(objpoints, imgpoints, rvecs, tvecs, mtx, dist):
    total_error = 0
    total_points = 0
    for i in range(len(objpoints)):
        imgpoints2, _ = cv2.projectPoints(objpoints[i], rvecs[i], tvecs[i], mtx, dist)
        error = cv2.norm(imgpoints[i], imgpoints2, cv2.NORM_L2) / len(imgpoints2)
        total_error += error
        total_points += len(imgpoints2)
    mean_error = total_error / total_points
    return mean_error
# 计算并打印左相机和右相机的重投影误差
print("左相机重投影误差: ", compute_reprojection_errors(object_points, corners_left, rvecs_l, tvecs_l, cameraMatrix_l, distCoeffs_l))
print("右相机重投影误差: ", compute_reprojection_errors(object_points, corners_right, rvecs_r, tvecs_r, cameraMatrix_r, distCoeffs_r))
# 立体矫正和显示
def stereo_rectify_and_display(img_l, img_r, cameraMatrix_l, distCoeffs_l, cameraMatrix_r, distCoeffs_r, R, T):
    img_size = img_l.shape[:2][::-1]
    # 立体校正
    R1, R2, P1, P2, Q, _, _ = cv2.stereoRectify(cameraMatrix_l, distCoeffs_l, cameraMatrix_r, distCoeffs_r, img_size, R, T)
    map1x, map1y = cv2.initUndistortRectifyMap(cameraMatrix_l, distCoeffs_l, R1, P1, img_size, cv2.CV_32FC1)
    map2x, map2y = cv2.initUndistortRectifyMap(cameraMatrix_r, distCoeffs_r, R2, P2, img_size, cv2.CV_32FC1)
    # 图像矫正
    rectified_img_l = cv2.remap(img_l, map1x, map1y, cv2.INTER_LINEAR)
    rectified_img_r = cv2.remap(img_r, map2x, map2y, cv2.INTER_LINEAR)
    # 显示矫正后的图像
    combined_img = np.hstack((rectified_img_l, rectified_img_r))
    cv2.imshow('Rectified Images', combined_img)
    cv2.imwrite("stereo_jiaozheng.png",combined_img)
    cv2.waitKey(0)
    cv2.destroyAllWindows()
# 加载并矫正示例图像
example_idx = 0
img_l = img_left[example_idx][0]
img_r = img_right[example_idx][0]
stereo_rectify_and_display(img_l, img_r, cameraMatrix_l, distCoeffs_l, cameraMatrix_r, distCoeffs_r, R, T)
标定完成后会显示一张矫正后的图像。代码重要的地方都给出了注释,主要流程就是分别对左右相机进行标定,然后对两个相机进行联合标定(立体标定),最后得到的参数会保存到yaml文件中:
---
camera_matrix_left:
  rows: 3
  cols: 3
  dt: d
  data:
    - 531.7200210313852
    - 0
    - 642.0170539101581
    - 0
    - 533.6471323984354
    - 420.4033045027399
    - 0
    - 0
    - 1
dist_coeff_left:
  rows: 1
  cols: 5
  dt: d
  data:
    - -0.1670007968198256
    - 0.04560028196221921
    - 0.0011938487550718078
    - -0.000866537907860316
    - -0.00805042100882671
camera_matrix_right:
  rows: 3
  cols: 3
  dt: d
  data:
    - 525.9058345430292
    - 0
    - 628.7761214904813
    - 0
    - 528.2078922687268
    - 381.8575789135264
    - 0
    - 0
    - 1
dist_coeff_right:
  rows: 1
  cols: 5
  dt: d
  data:
    - -0.15320688387351564
    - 0.03439886104586617
    - -0.0003732170677440928
    - -0.0024909528446780153
    - -0.005138400994014348
R:
  rows: 3
  cols: 3
  dt: d
  data:
    - 0.9999847004116569
    - -0.00041406631566505544
    - 0.005516112008926496
    - 0.0003183979929468572
    - 0.9998497209492369
    - 0.017333036100216304
    - -0.005522460079247196
    - -0.017331014592906722
    - 0.9998345554979852
T:
  rows: 3
  cols: 1
  dt: d
  data:
    - -55.849260376265015
    - 2.1715925432988743
    - 0.46949841441903933
E:
  rows: 3
  cols: 3
  dt: d
  data:
    - -0.012142020481601675
    - -0.5070637607007459
    - 2.1630954322858496
    - 0.1610659204031652
    - -0.9681187500627653
    - 55.84261022903612
    - -2.189341611238282
    - -55.83996821910631
    - -0.9800159939787676
F:
  rows: 3
  cols: 3
  dt: d
  data:
    - -2.4239149875305048e-8
    - -0.0000010085973649868748
    - 0.0027356495714066175
    - 3.2013501988129346e-7
    - -0.0000019172863951399893
    - 0.05961765359743852
    - -0.002405523166325036
    - -0.057046539240958545
    - 1
分别是左相机的内参矩阵、畸变系数,右相机的内参矩阵和畸变系数,两个相机之间的旋转矩阵、平移矩阵、本质矩阵、基本矩阵。
矫正
import cv2
import yaml
import numpy as np
# 定义函数读取标定数据
def read_calibration_data(calibration_file):
    with open(calibration_file, 'r') as f:
        calib_data = yaml.safe_load(f)
        cameraMatrix_l = np.array(calib_data['camera_matrix_left']['data']).reshape(3, 3)
        distCoeffs_l = np.array(calib_data['dist_coeff_left']['data'])
        cameraMatrix_r = np.array(calib_data['camera_matrix_right']['data']).reshape(3, 3)
        distCoeffs_r = np.array(calib_data['dist_coeff_right']['data'])
        R = np.array(calib_data['R']['data']).reshape(3, 3)
        T = np.array(calib_data['T']['data']).reshape(3, 1)
    return cameraMatrix_l, distCoeffs_l, cameraMatrix_r, distCoeffs_r, R, T
# 定义函数对图像进行矫正
def rectify_images(left_image_path, right_image_path, calibration_file):
    # 读取标定数据
    cameraMatrix_l, distCoeffs_l, cameraMatrix_r, distCoeffs_r, R, T = read_calibration_data(calibration_file)
    # 读取左右图像
    img_left = cv2.imread(left_image_path)
    img_right = cv2.imread(right_image_path)
    # 获取图像尺寸(假设左右图像尺寸相同)
    img_size = img_left.shape[:2][::-1]
    # 立体校正
    R1, R2, P1, P2, Q, roi1, roi2 = cv2.stereoRectify(cameraMatrix_l, distCoeffs_l,
      cameraMatrix_r, distCoeffs_r,
      img_size, R, T)
    # 计算映射参数
    map1_l, map2_l = cv2.initUndistortRectifyMap(cameraMatrix_l, distCoeffs_l, R1, P1, img_size, cv2.CV_32FC1)
    map1_r, map2_r = cv2.initUndistortRectifyMap(cameraMatrix_r, distCoeffs_r, R2, P2, img_size, cv2.CV_32FC1)
    # 应用映射并显示结果
    rectified_img_l = cv2.remap(img_left, map1_l, map2_l, cv2.INTER_LINEAR)
    rectified_img_r = cv2.remap(img_right, map1_r, map2_r, cv2.INTER_LINEAR)
    # 合并图像显示
    combined_img = np.hstack((rectified_img_l, rectified_img_r))
    cv2.imshow('Rectified Images', combined_img)
    cv2.waitKey(0)
    cv2.destroyAllWindows()
# 设置路径和文件名
left_image_path = "C:/new_pycharm_project/yolov10-main/shuangmu_left_pic/left_image0.png"
right_image_path = "C:/new_pycharm_project/yolov10-main/shuangmu_right_pic/right_image0.png"
calibration_file = "C:/new_pycharm_project/yolov10-main/calibration_parameters.yaml"
# 调用函数进行图像矫正
rectify_images(left_image_path, right_image_path, calibration_file)
结果对比:
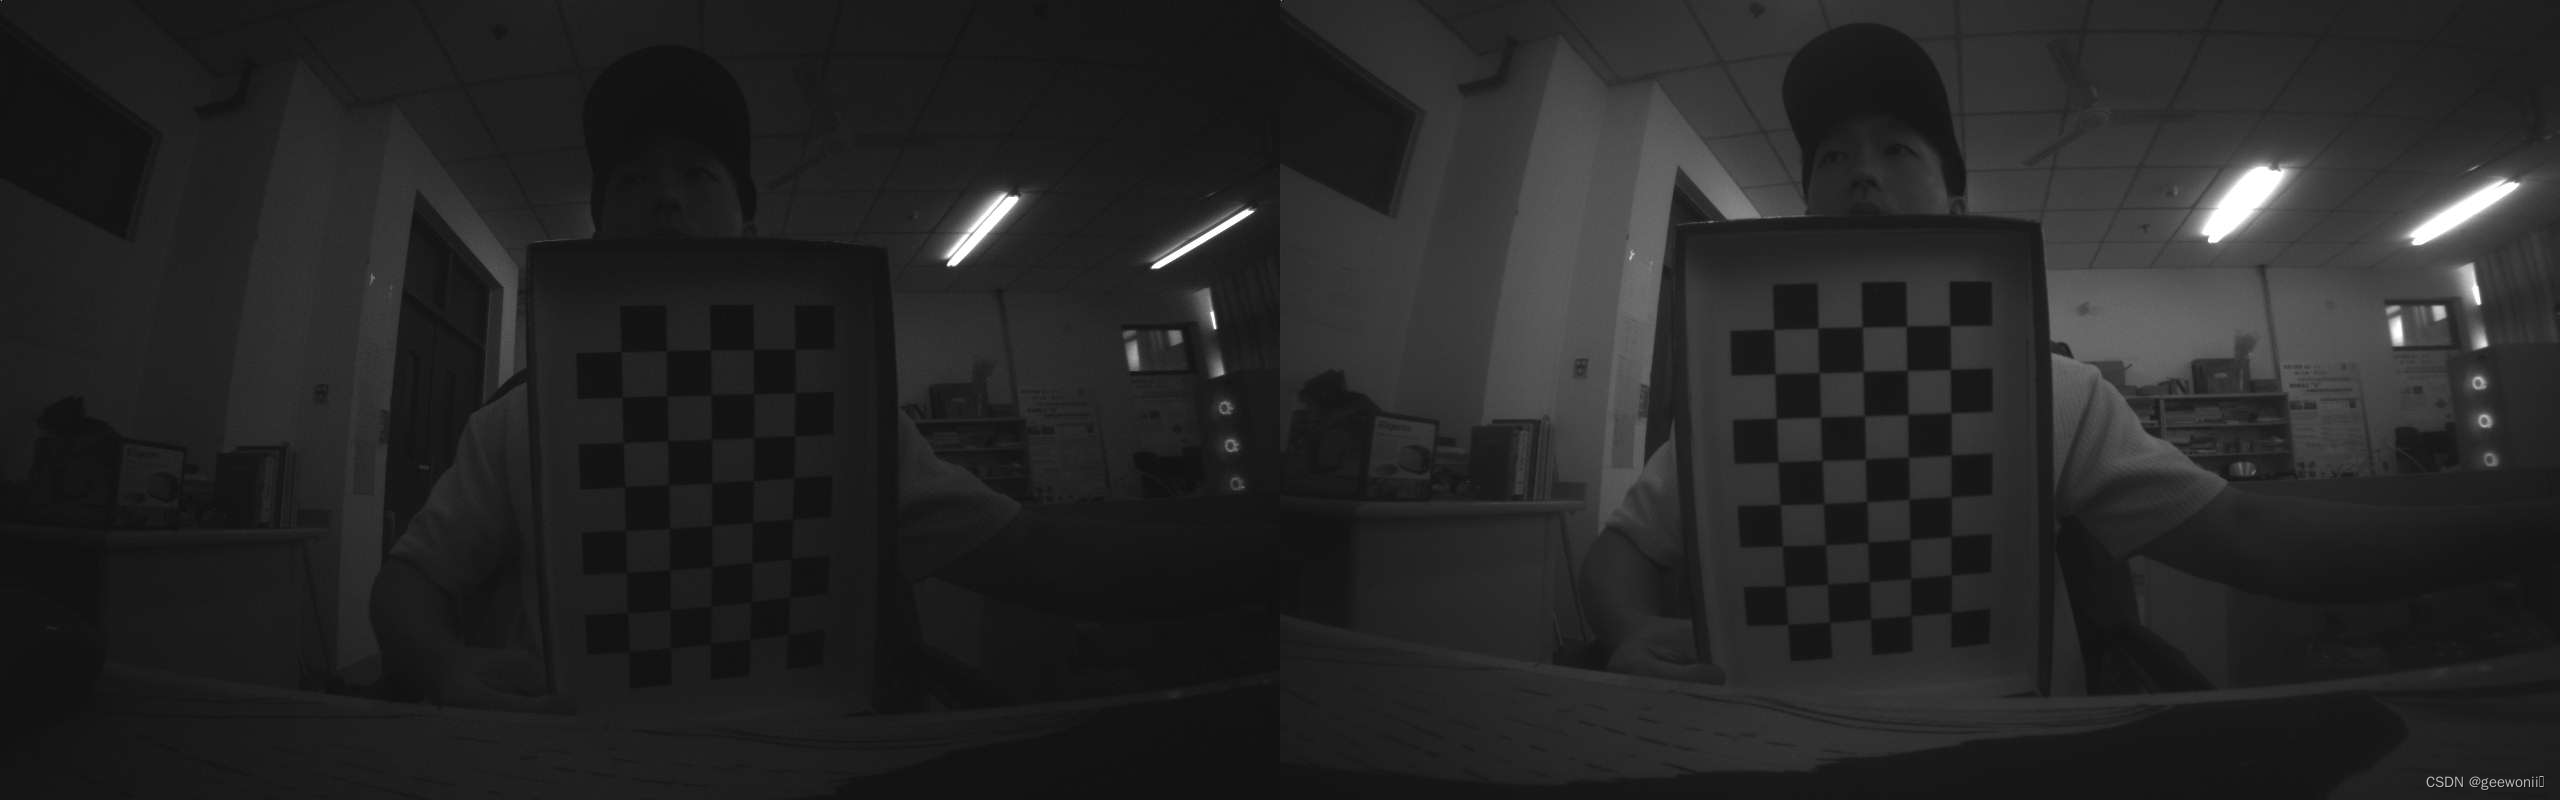
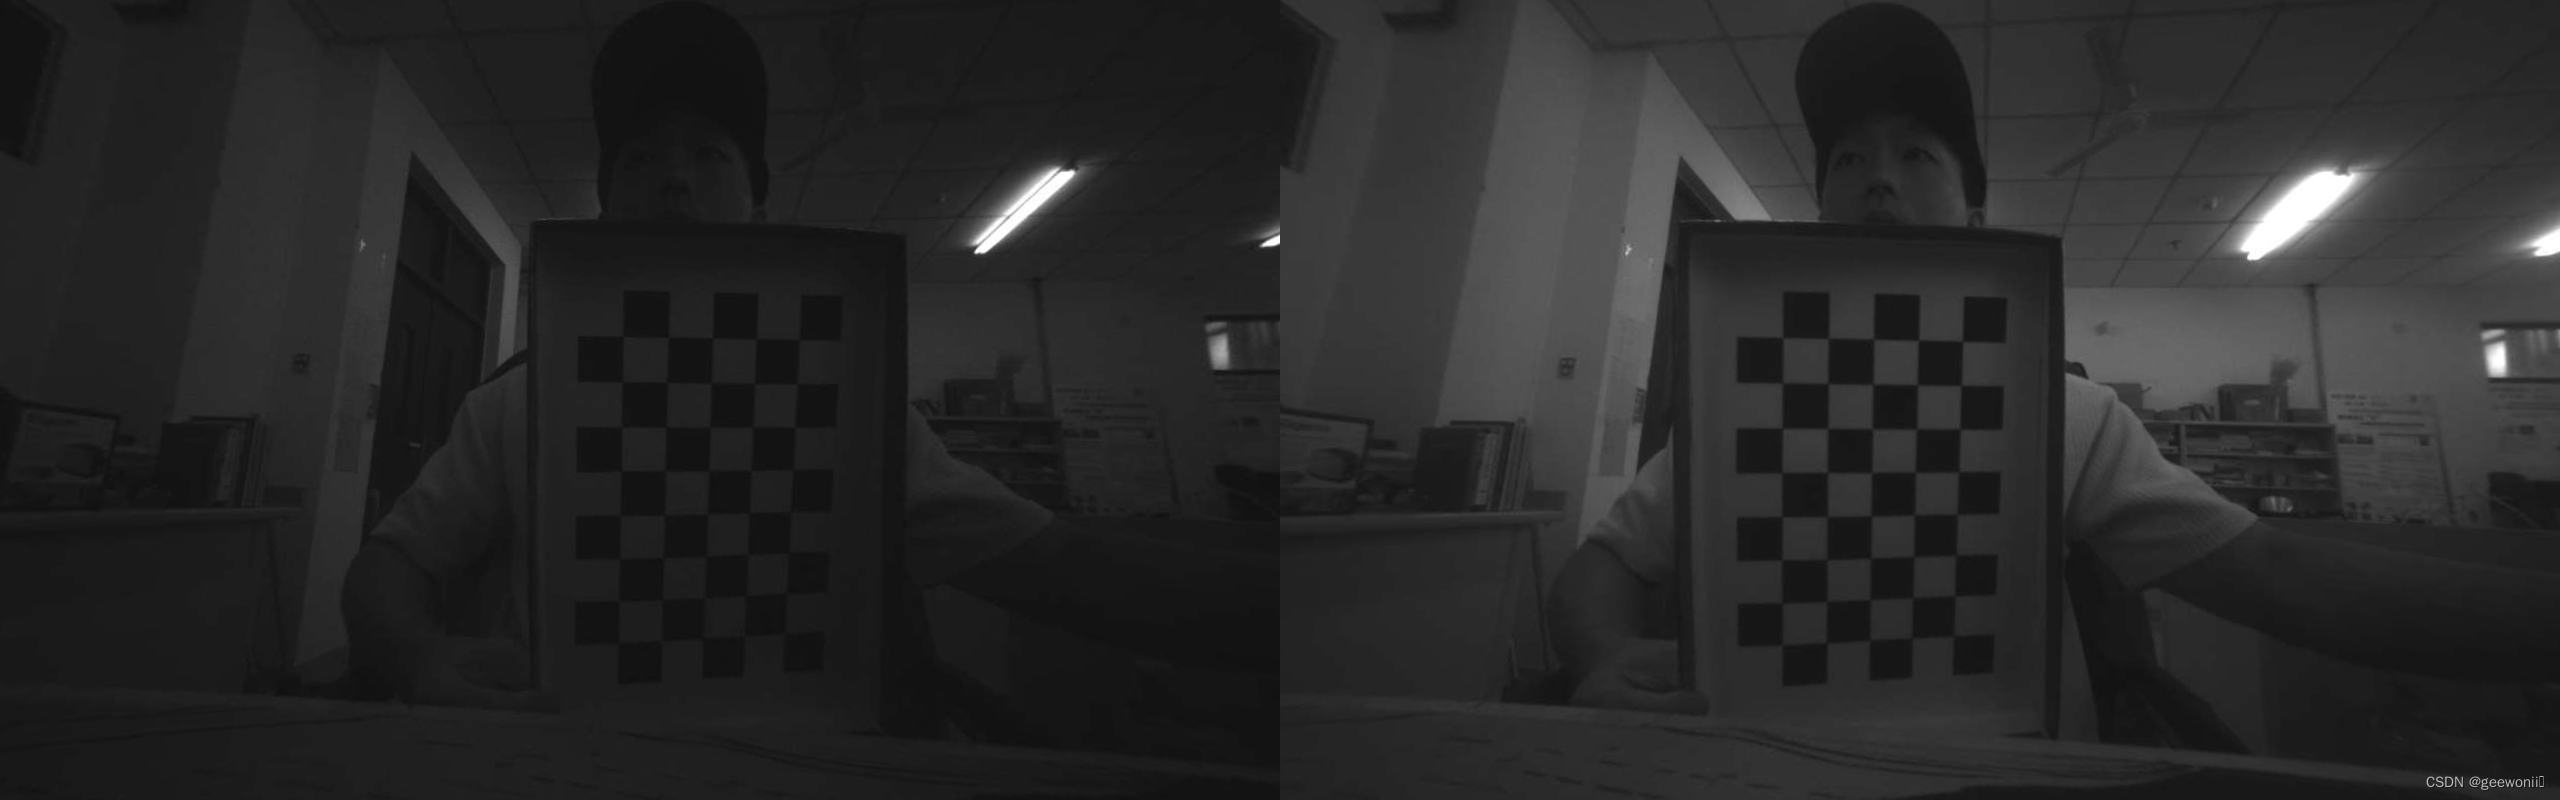
第一张是矫正前的左右相机图像,第二张是矫正后的。可以看到去除了畸变,并且两图像基本出于同一水平线。
免责声明:我们致力于保护作者版权,注重分享,被刊用文章因无法核实真实出处,未能及时与作者取得联系,或有版权异议的,请联系管理员,我们会立即处理! 部分文章是来自自研大数据AI进行生成,内容摘自(百度百科,百度知道,头条百科,中国民法典,刑法,牛津词典,新华词典,汉语词典,国家院校,科普平台)等数据,内容仅供学习参考,不准确地方联系删除处理! 图片声明:本站部分配图来自人工智能系统AI生成,觅知网授权图片,PxHere摄影无版权图库和百度,360,搜狗等多加搜索引擎自动关键词搜索配图,如有侵权的图片,请第一时间联系我们,邮箱:ciyunidc@ciyunshuju.com。本站只作为美观性配图使用,无任何非法侵犯第三方意图,一切解释权归图片著作权方,本站不承担任何责任。如有恶意碰瓷者,必当奉陪到底严惩不贷!


